Moving gear
Scan, move and batch-move gear so EnTrackMusic always knows where it is.
Every time a case goes on a truck or a cello goes back to storage, EnTrackMusic should know. There are four ways to record a move. Pick whichever is quickest where you're standing:
- Scan it with the scanner. Best when you're holding the item.
- Move it from its page. Best when you're at a desk.
- Move a batch from the Equipment or Cases list.
- Work through a pick list or load. Best when an admin has planned the moves. See Pick lists and Running a load.
Scan and move
Open the scanner
Choose Scanner in the menu, or the scan button in the iPhone or Android app, and choose Start Scanning. Allow camera access the first time.
Scan the item
Point the camera at the QR label on any equipment, case or location. You'll see what it is and where it's stored right now.
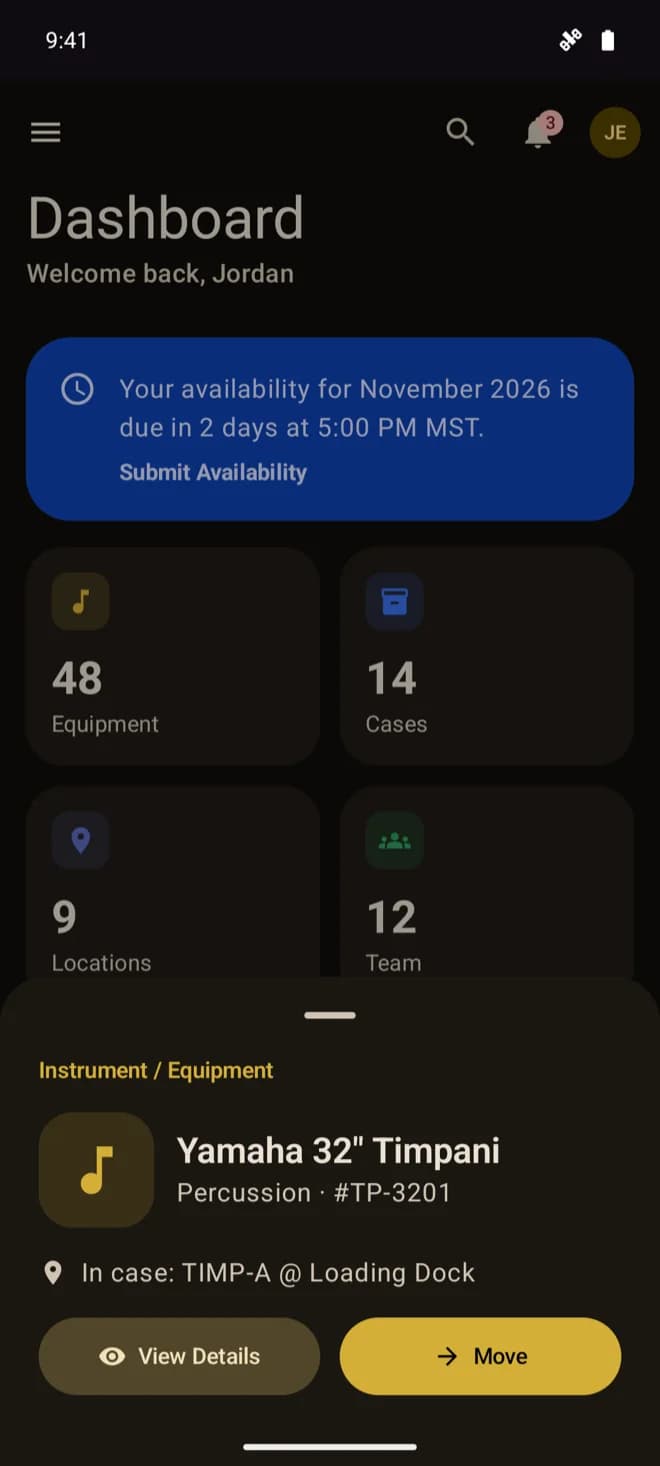
Choose Move
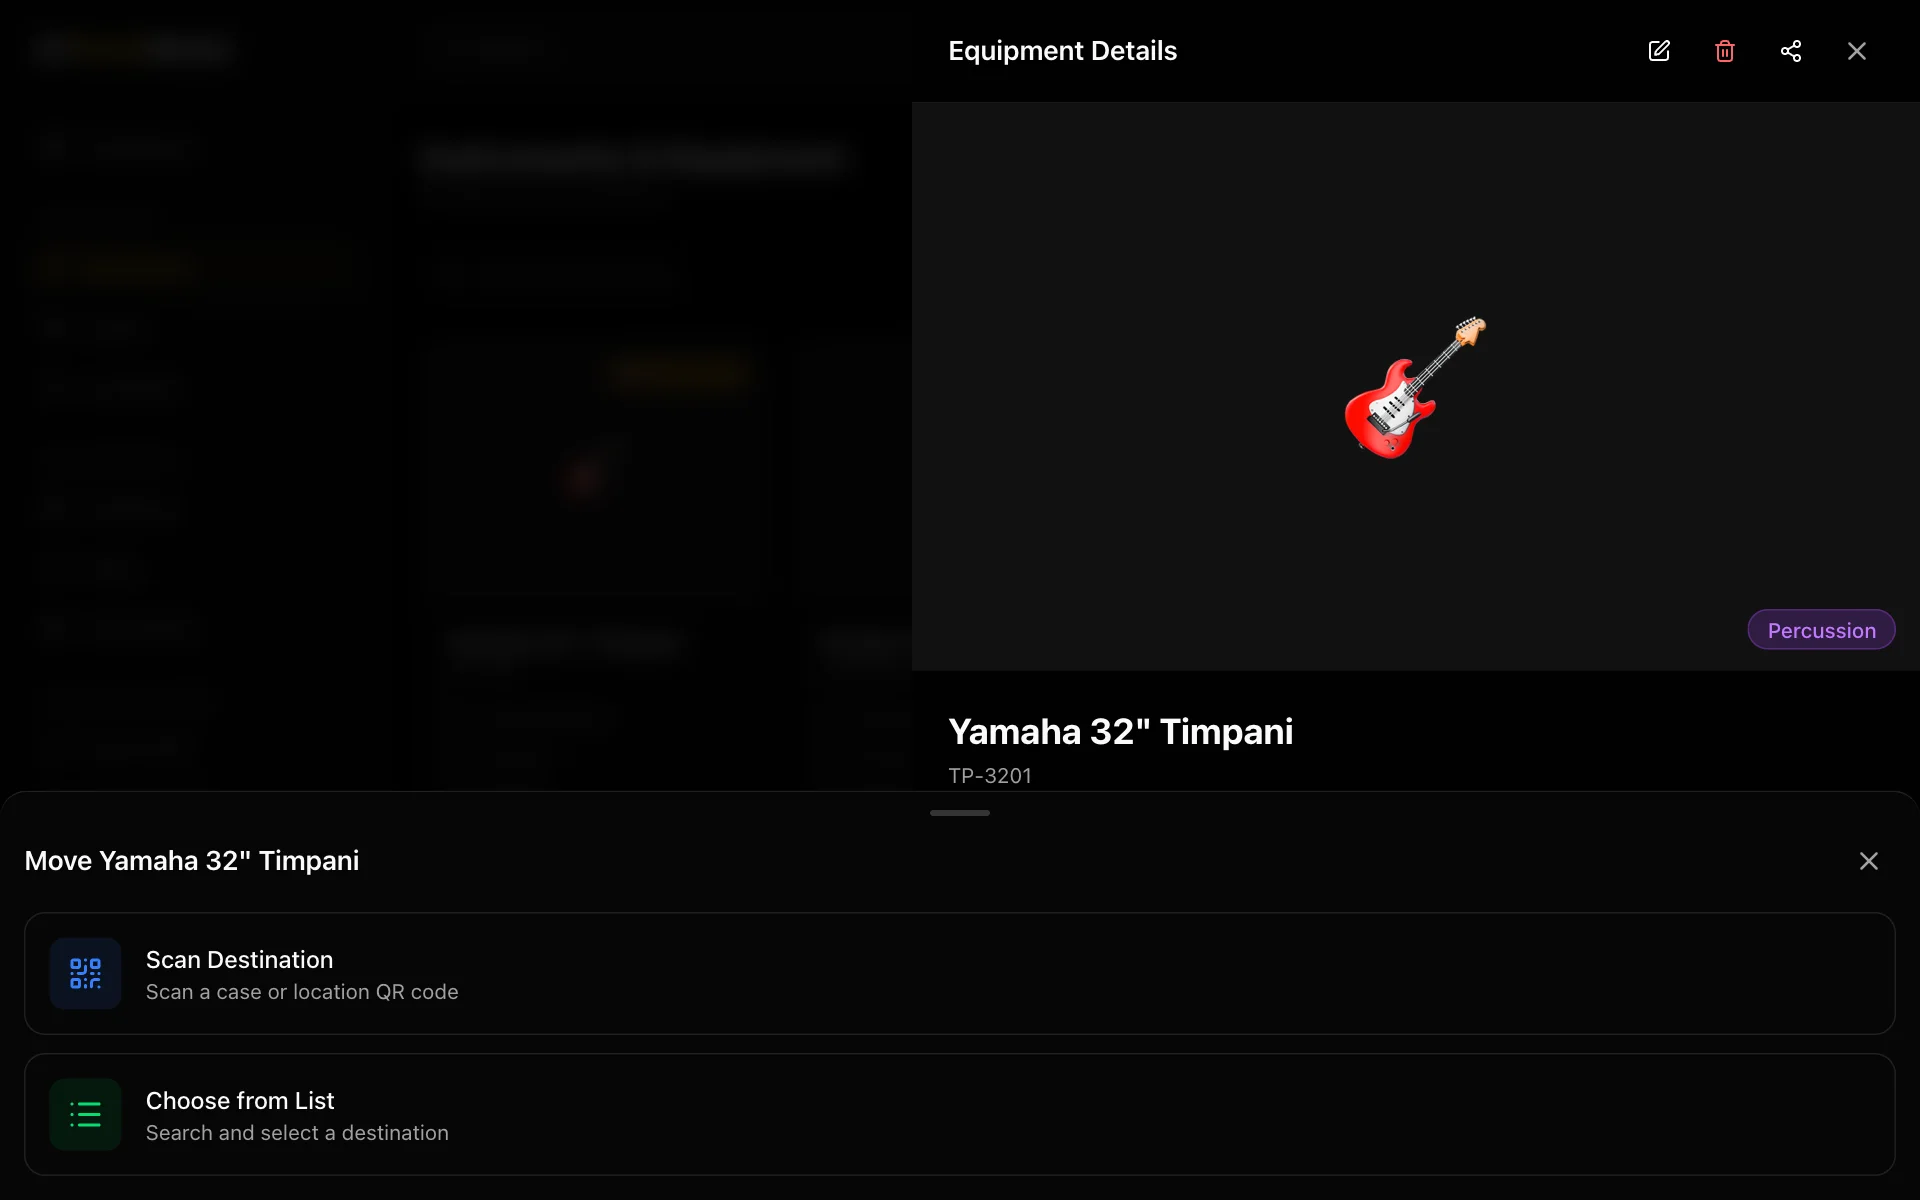
Choose Move, then either Scan Destination to scan the case or location it's going to, or Choose from List to search for it.
Confirm
Check the Moving and To cards and choose Confirm Move. You'll see Moved to and the destination, and you can scan the next item straight away.
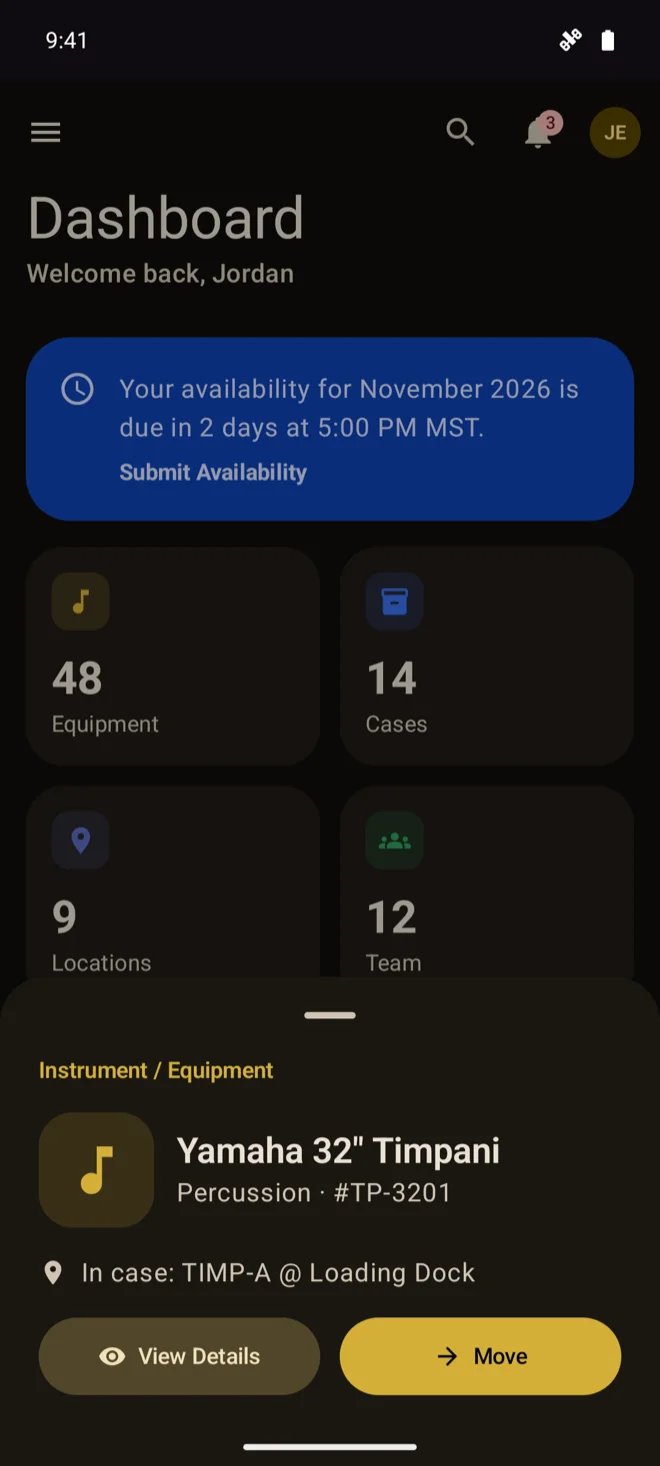
Equipment can go into a case or straight to a location. Cases can go into another case or to a location. Locations can't be moved, but scanning one shows what's there.
Gear you track by quantity (like 40 music stands) moves a few at a time: choose where they're coming from and how many, then Transfer.
Move from an item's page
Open any equipment or case and choose Move. You'll get the same Scan Destination and Choose from List steps as the scanner.
Move a batch at once
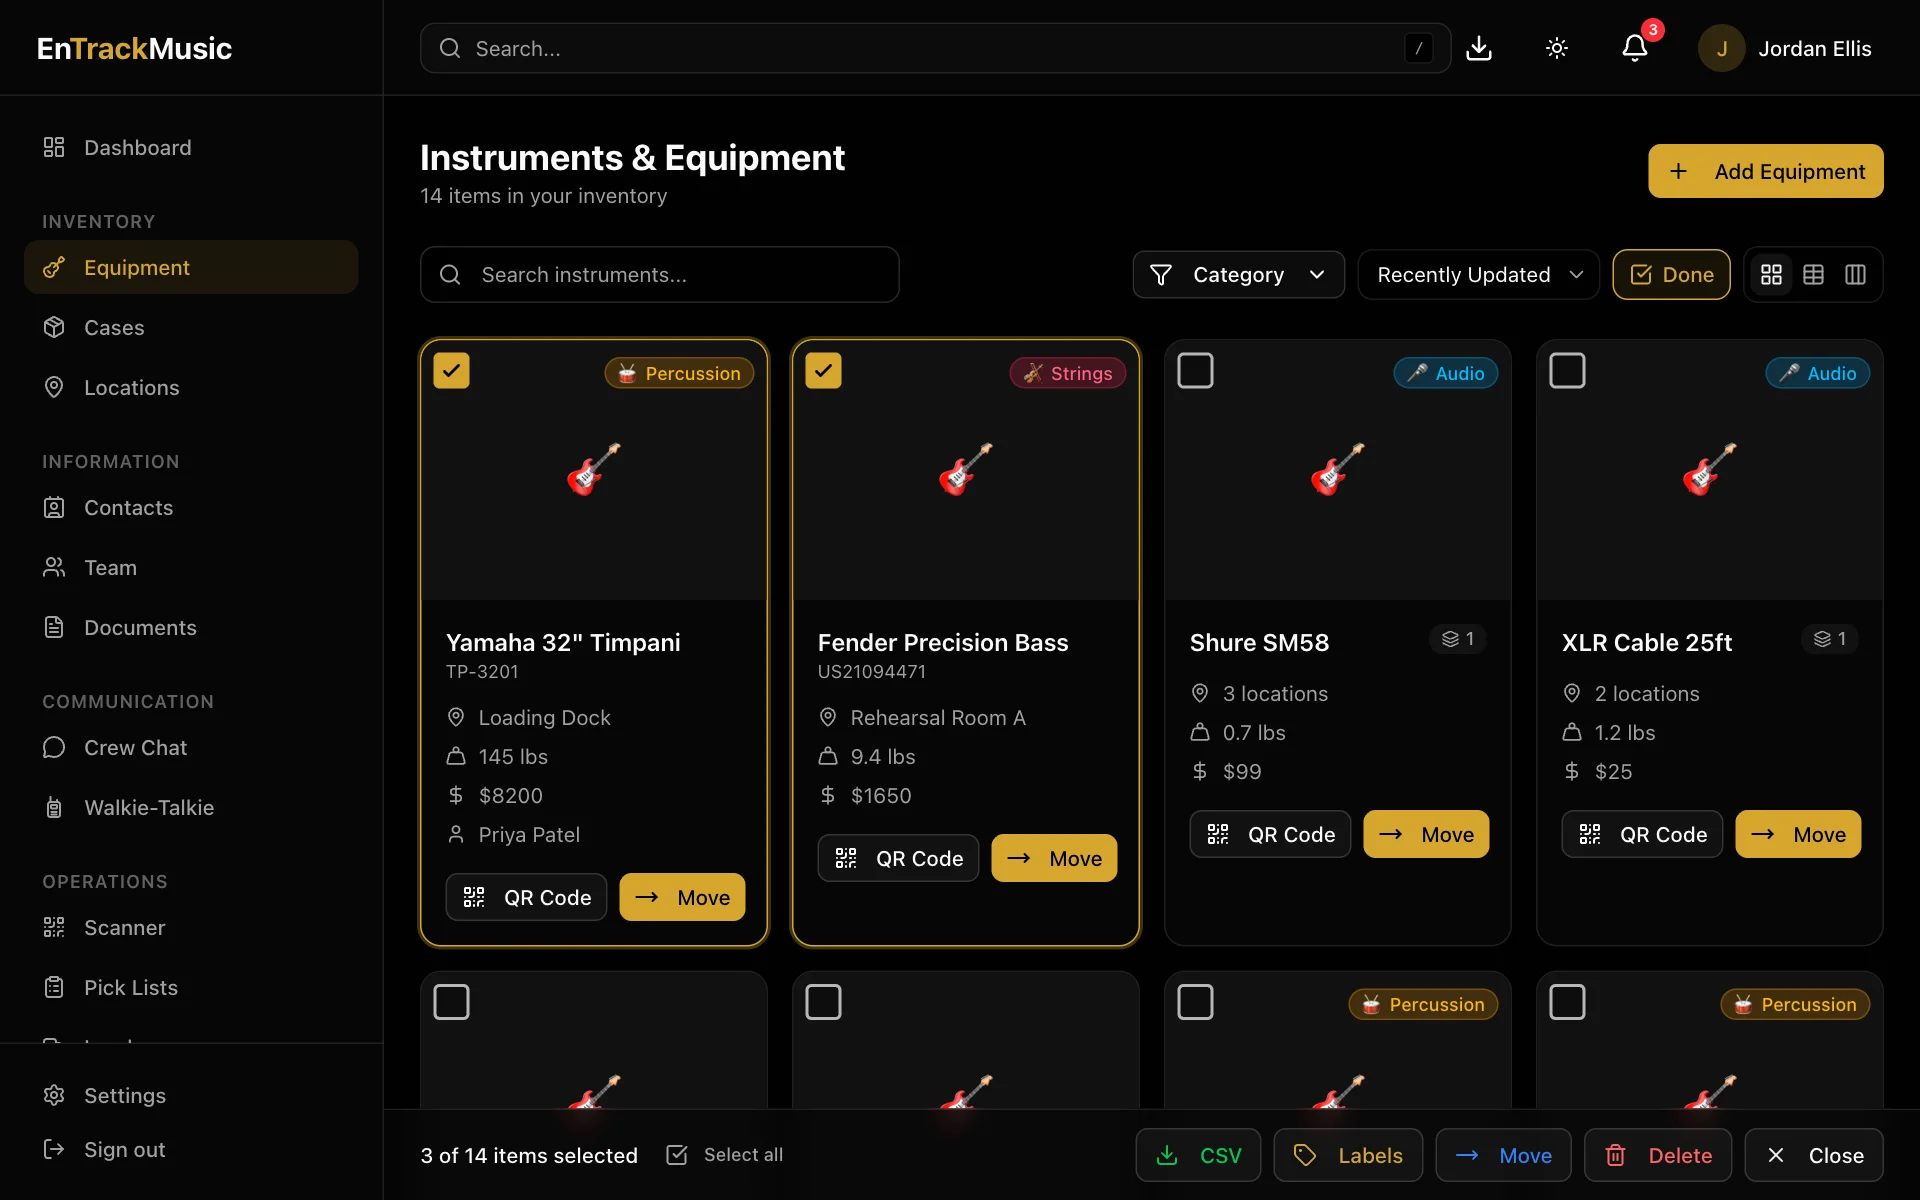
Select the items
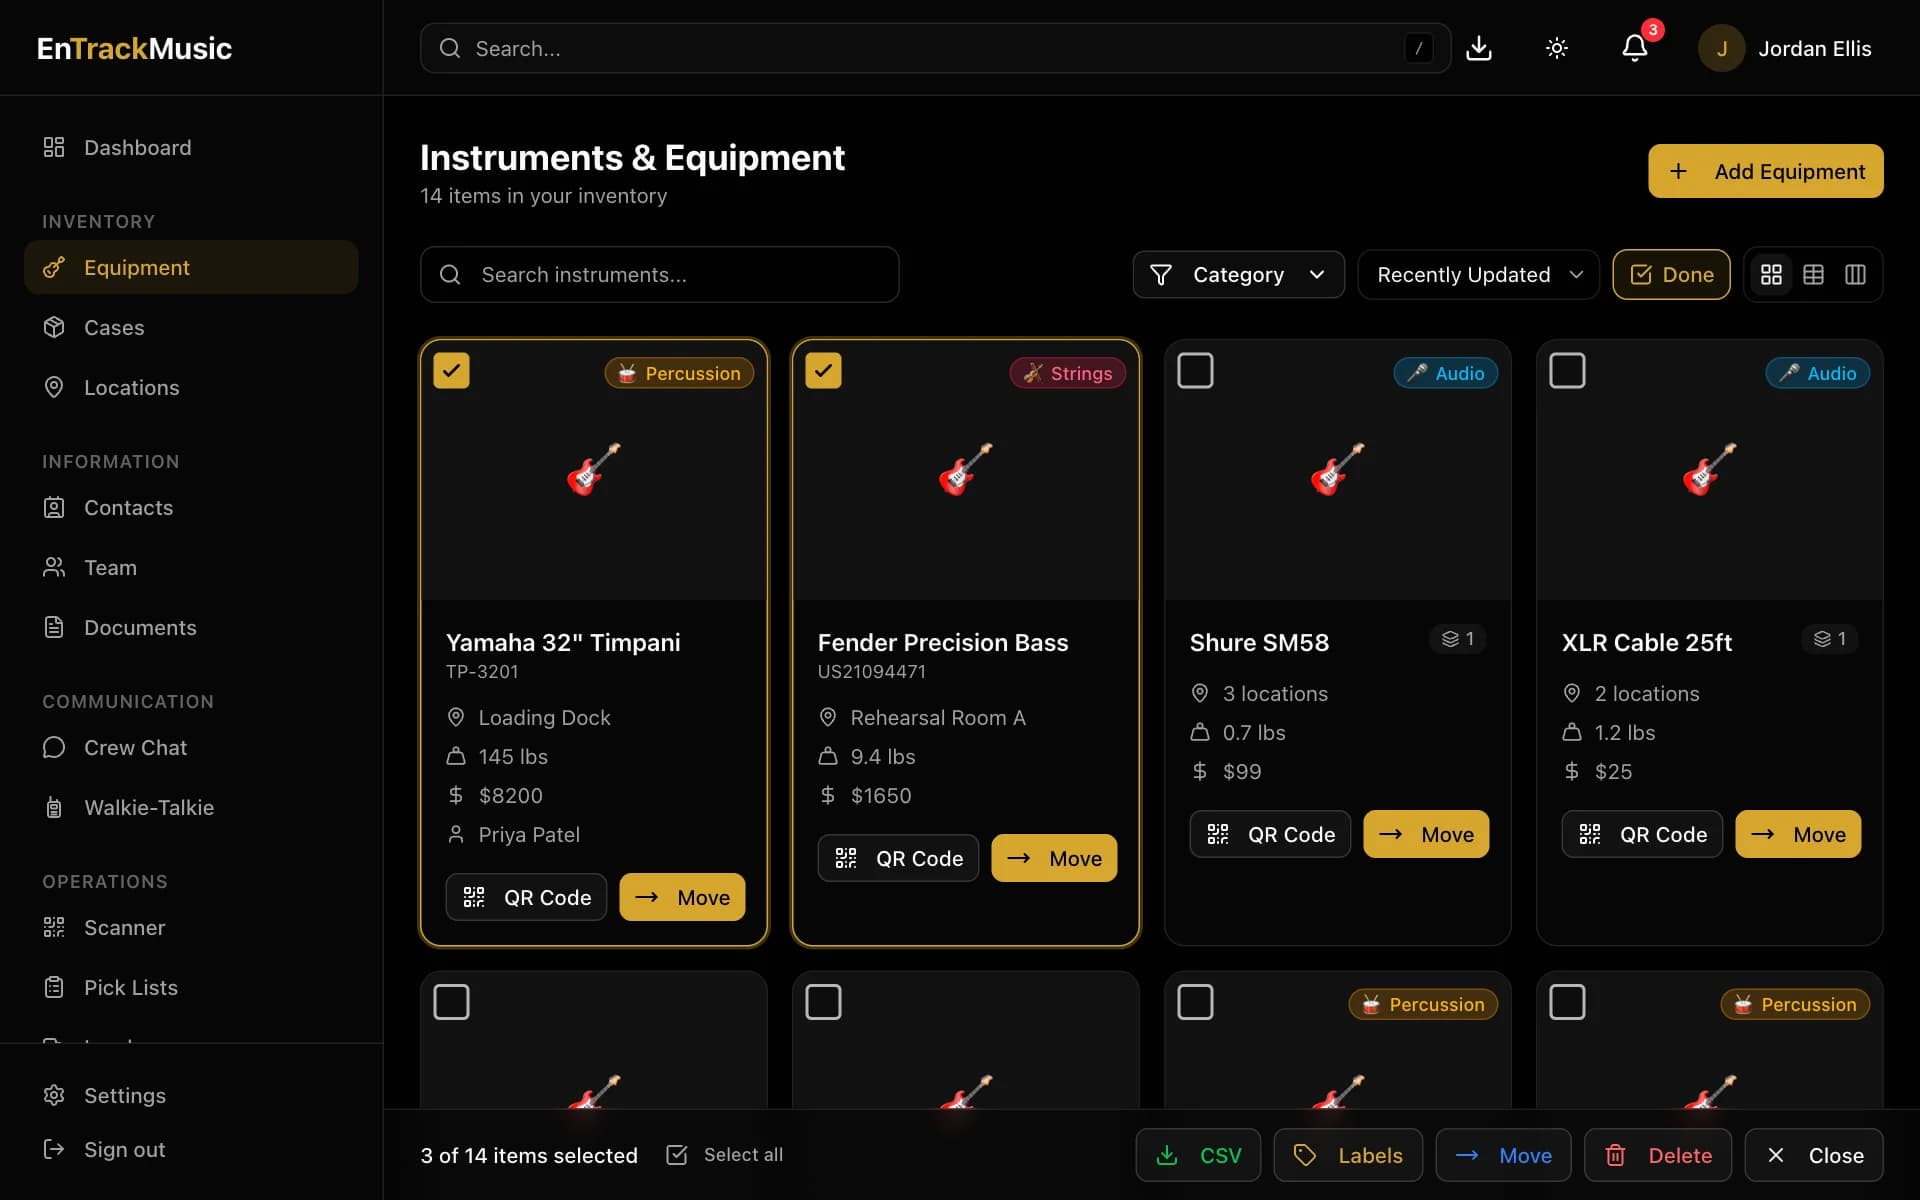
On Equipment or Cases, choose Select (or use the checkboxes in table view) and tick everything that's moving. Select all picks every item on the page.
Move them
Choose Move in the toolbar, pick the destination and choose Confirm Move. You can move up to 200 items at a time.
Admins only
Assign gear to a person
Assigning isn't a move: it records who's responsible for an item, wherever it is. Edit the equipment and choose someone under Assigned To. You can pick a team member or a contact (contacts need the Pro plan).
See where something has been
Every move is recorded. Open an item and scroll to History to see each move, who made it and when. A move made by a pick list or load says which one. For your whole organization's activity, see the Changelog.
Still stuck? Contact us and we'll help.