Running a load
Build a load for a truck or room, then scan everything onto it.
A load is a list of cases and gear that all go to one place: a truck before a tour, or a hall when you arrive. Crew scan each item as it goes on, and EnTrackMusic moves it to the destination as they scan, so you always know what's on the truck and what's still on the dock.
Loads need the Starter plan or higher.
Find your loads
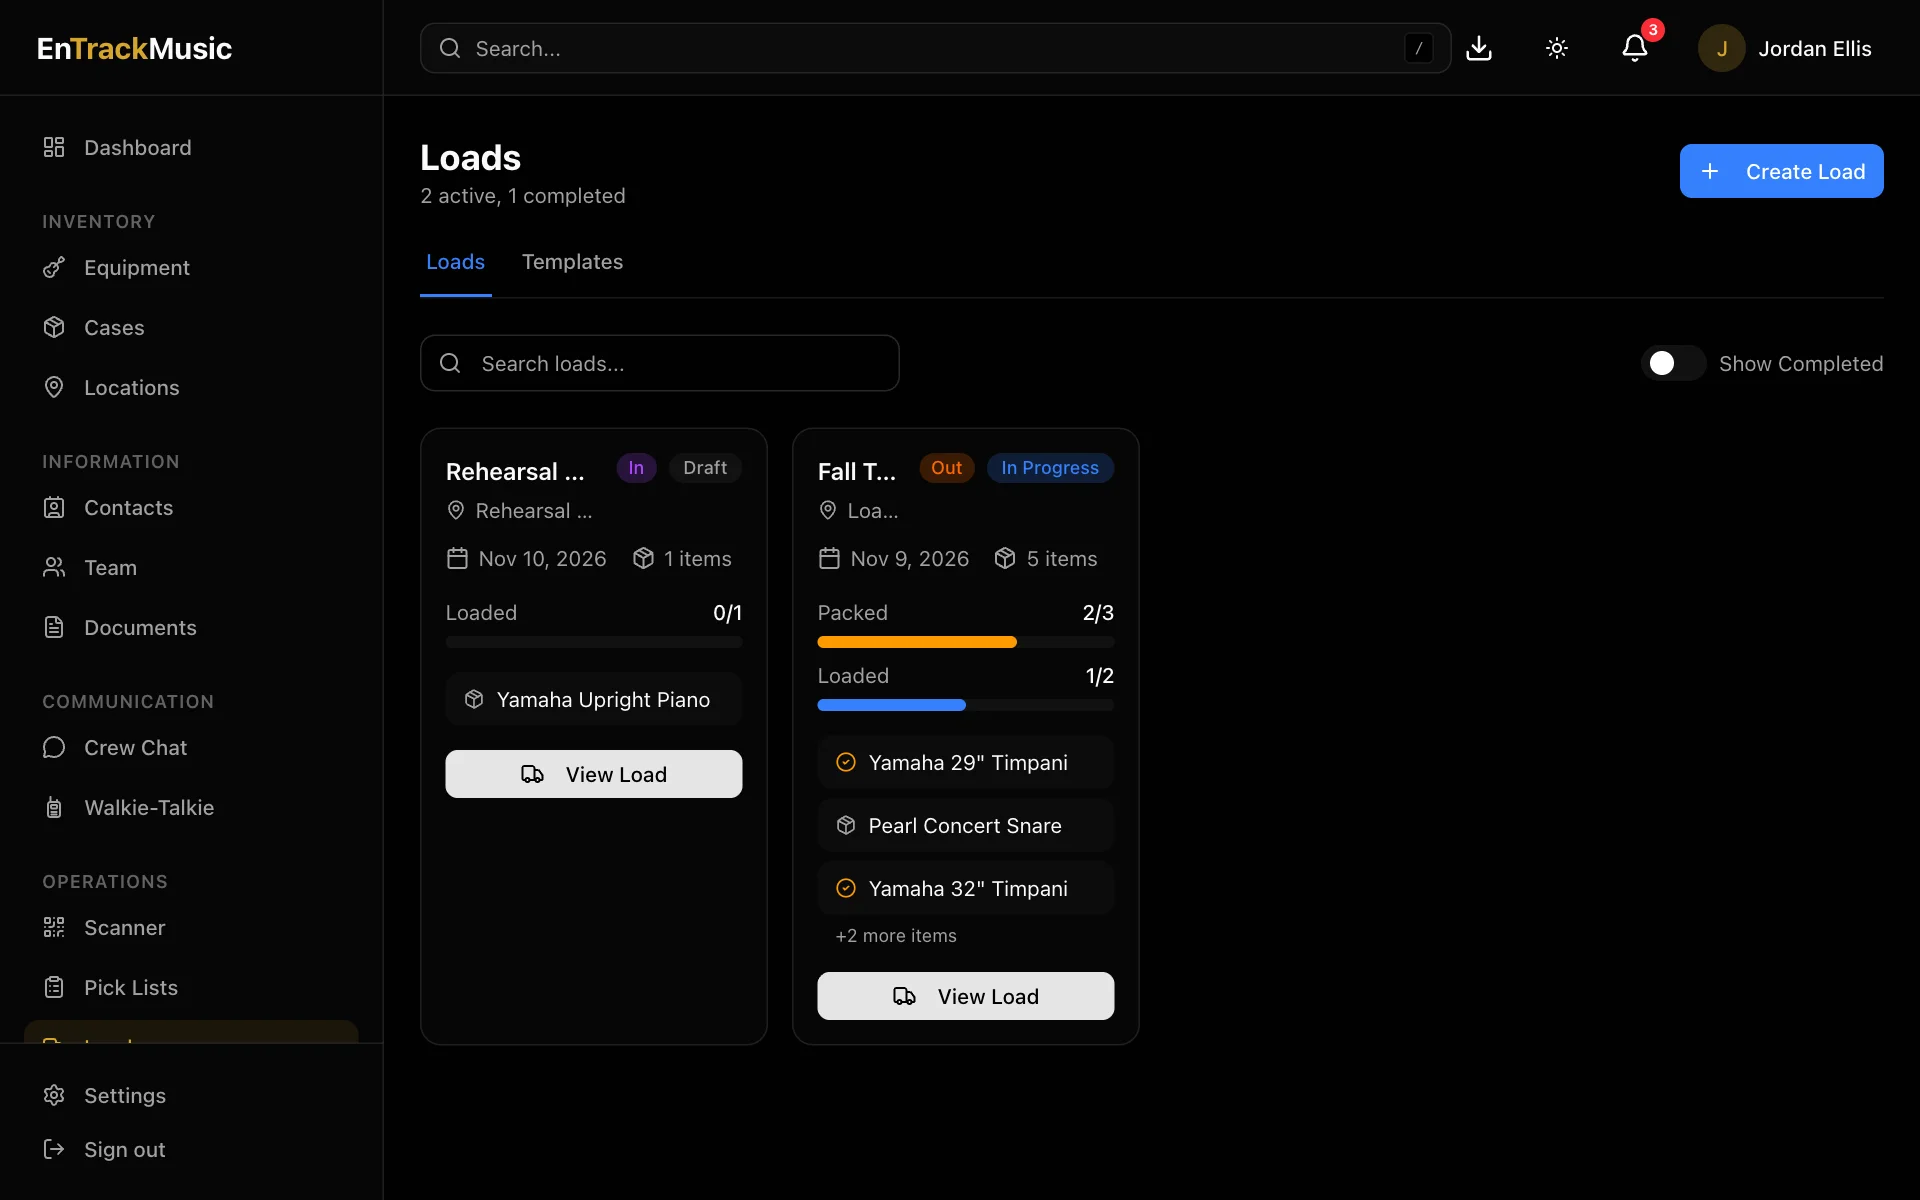
Go to Loads. Each card shows where the load is going, whether it's a Load Out or a Load In, its status, and how much has been loaded so far. Finished loads are hidden; turn on Show Completed to see them.
Admins only
Create a load
Start a new load
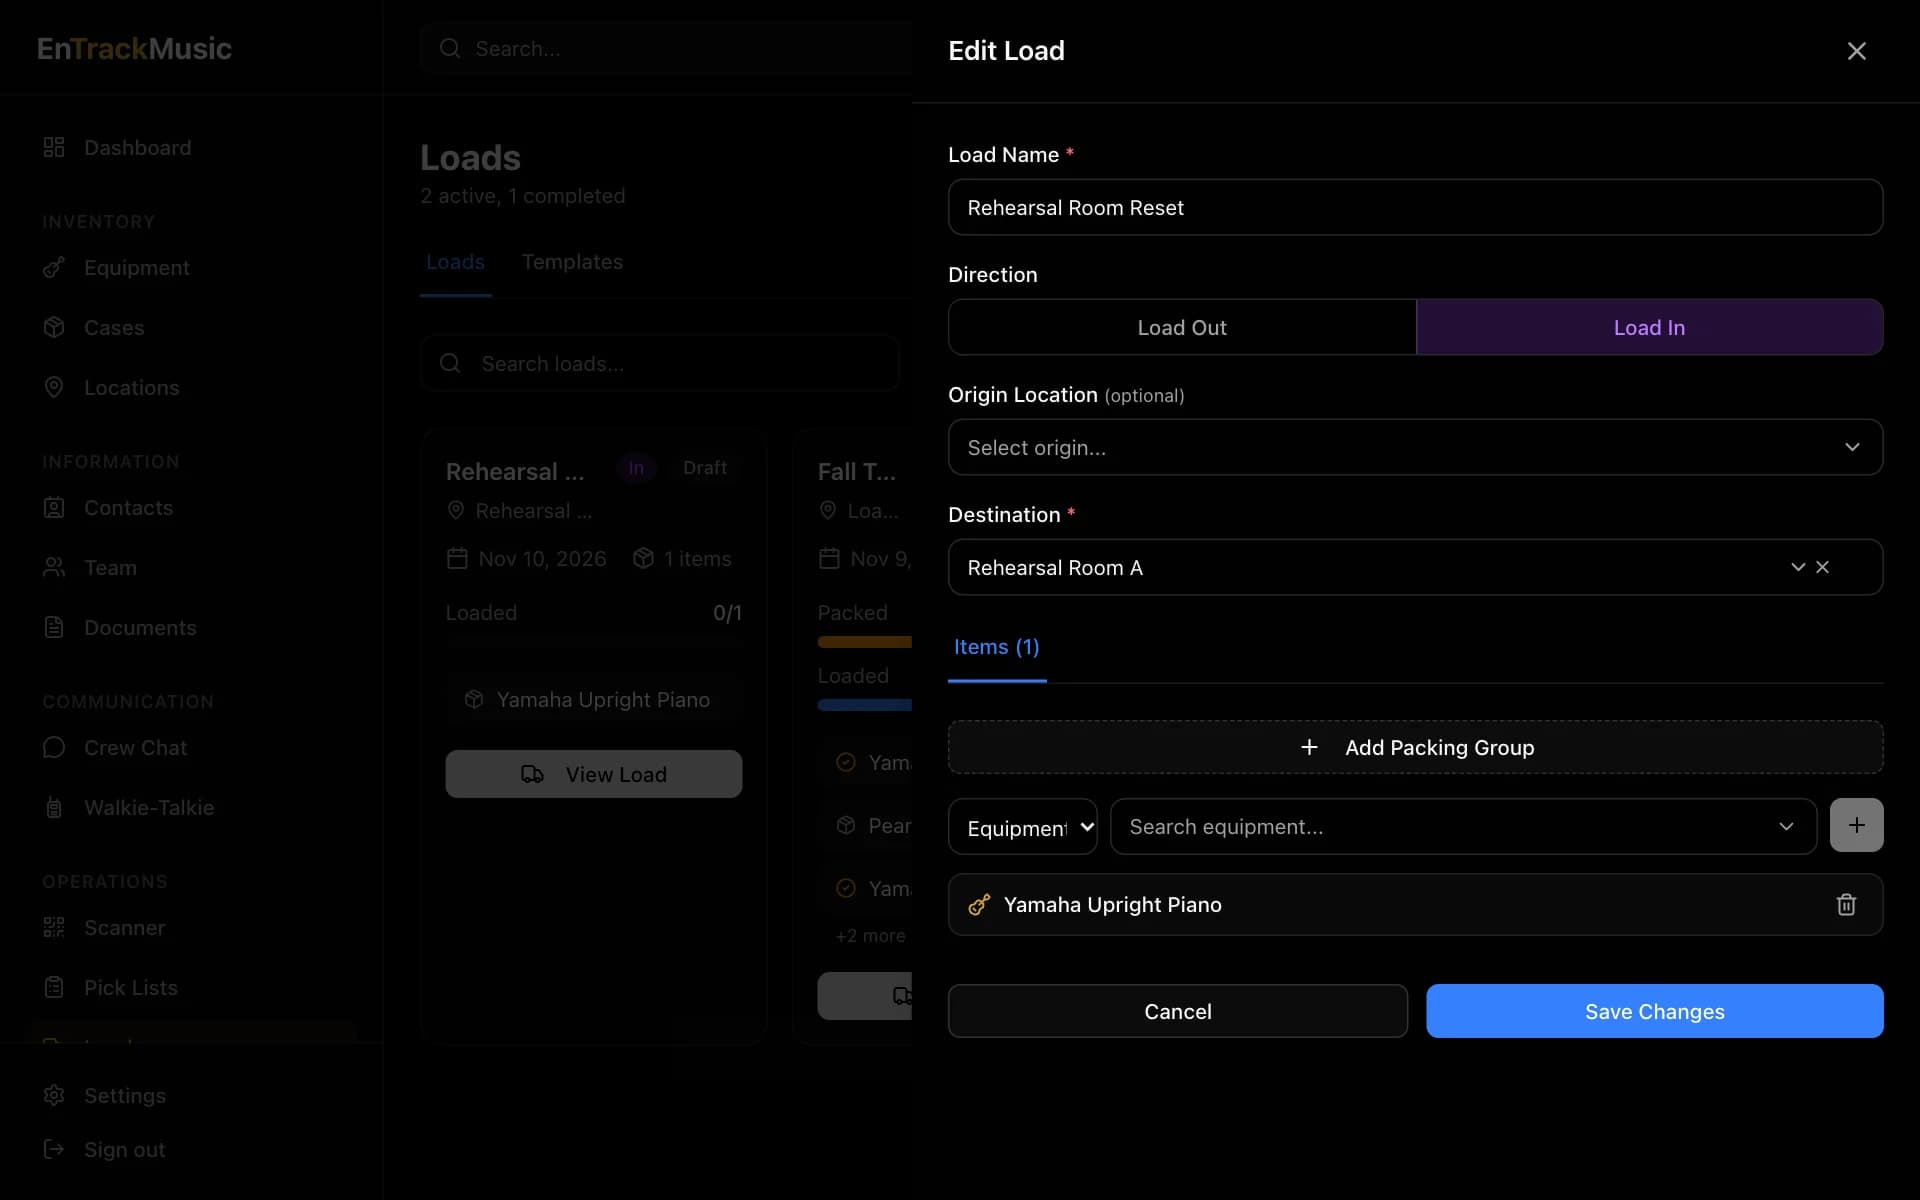
Choose Create Load and give it a name, like Fall Tour – Truck 1.
Pick a direction and destination
Choose Load Out when gear is leaving (going onto a truck) or Load In when it's arriving (coming off the truck at a venue). Pick the Destination the gear is going to. It can be a building, a room or a truck. The Origin is optional.
Add the items
Choose Case or Equipment, search for it and choose +. Add whole cases where you can: everything inside a case goes with it.
Save it
Choose Create Load. The load starts as a Draft, and you can keep editing it until someone starts scanning.
Packing groups
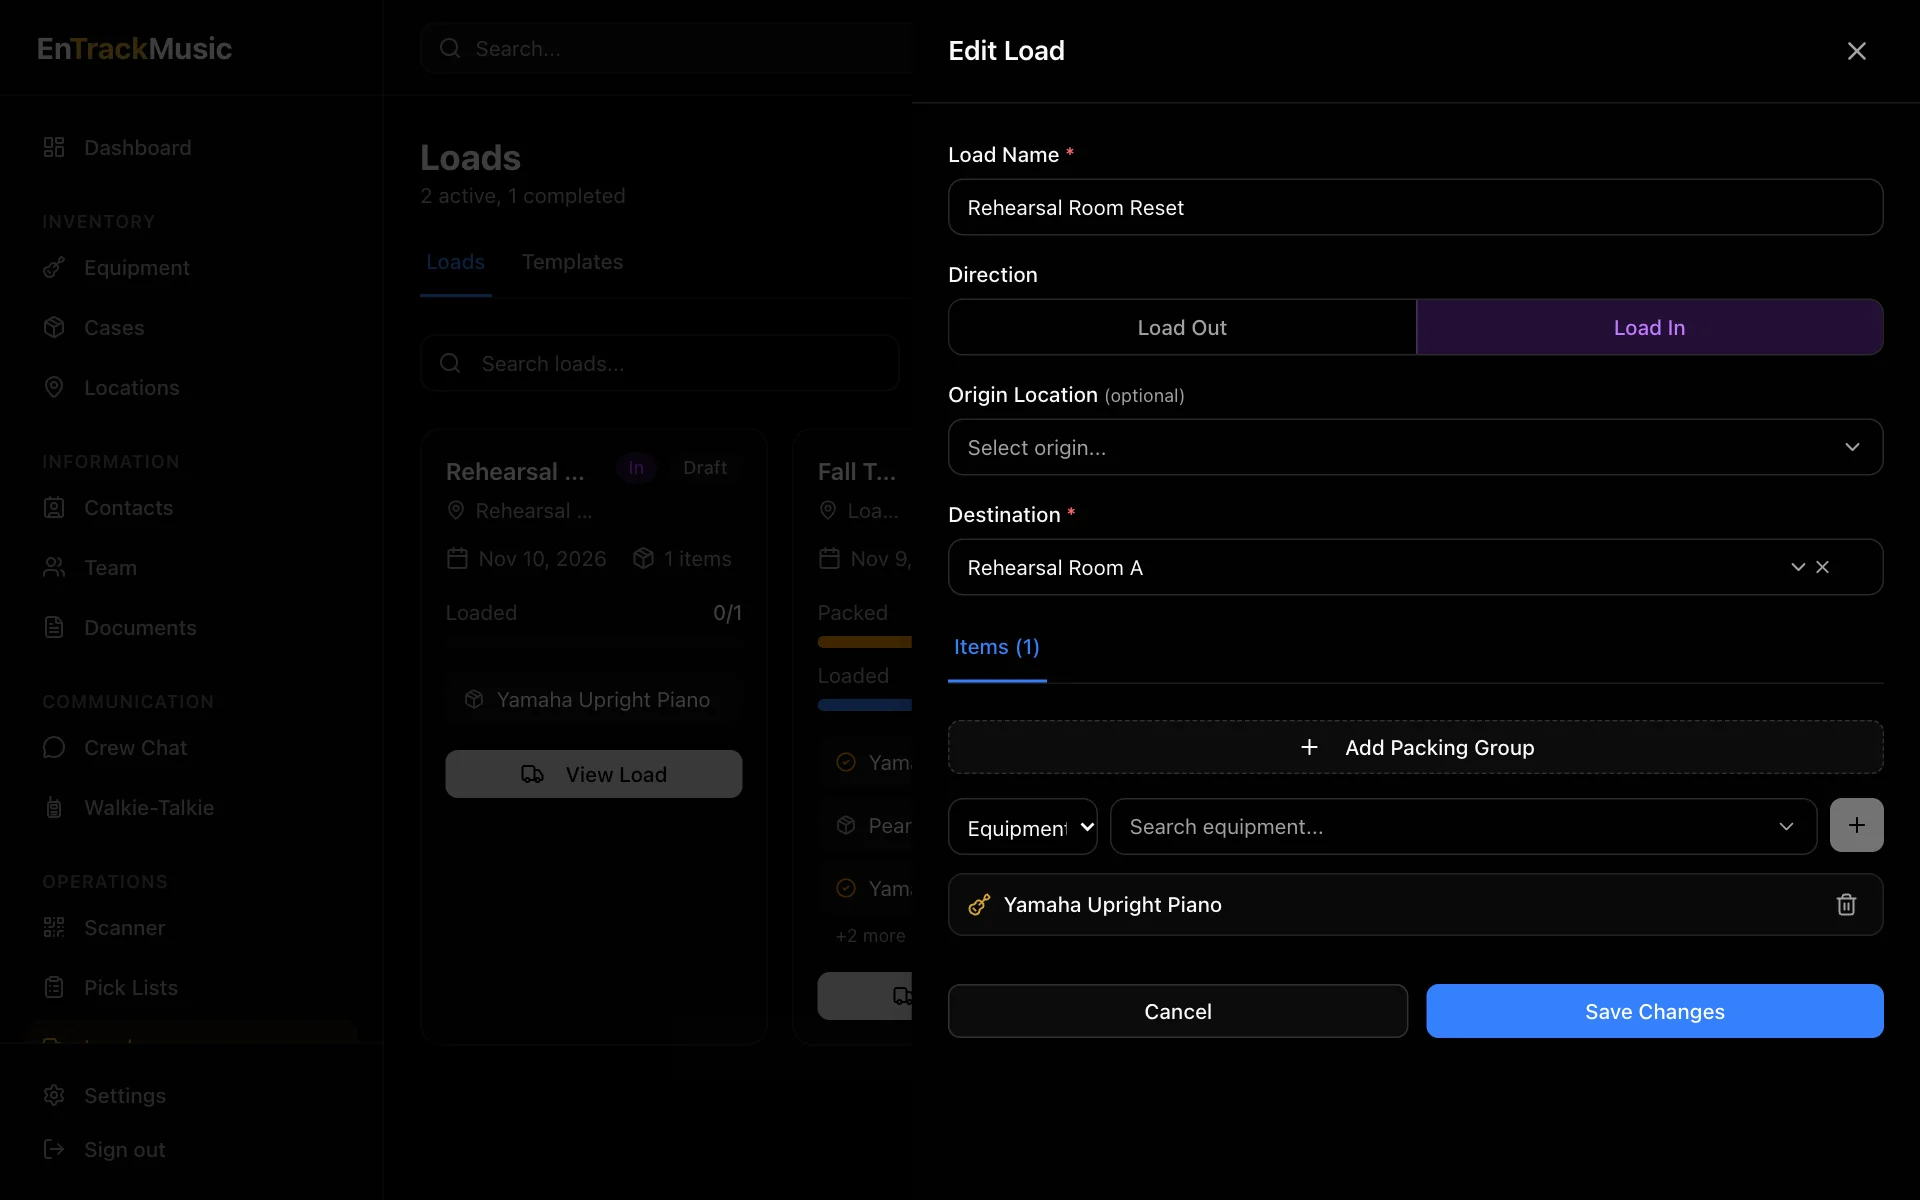
If some loose gear has to go into a case before that case goes on the truck, choose Add Packing Group, pick the case, and add the gear that goes in it. Crew pack those items first, and the loading scanner stays locked until everything's packed.
Templates
Load the same truck every tour? Open a load, choose ⋯ and then Save as Template. Next time, go to the Templates tab and choose Create Load on the template. You'll only need to give the new load a name and a destination.
Open a load
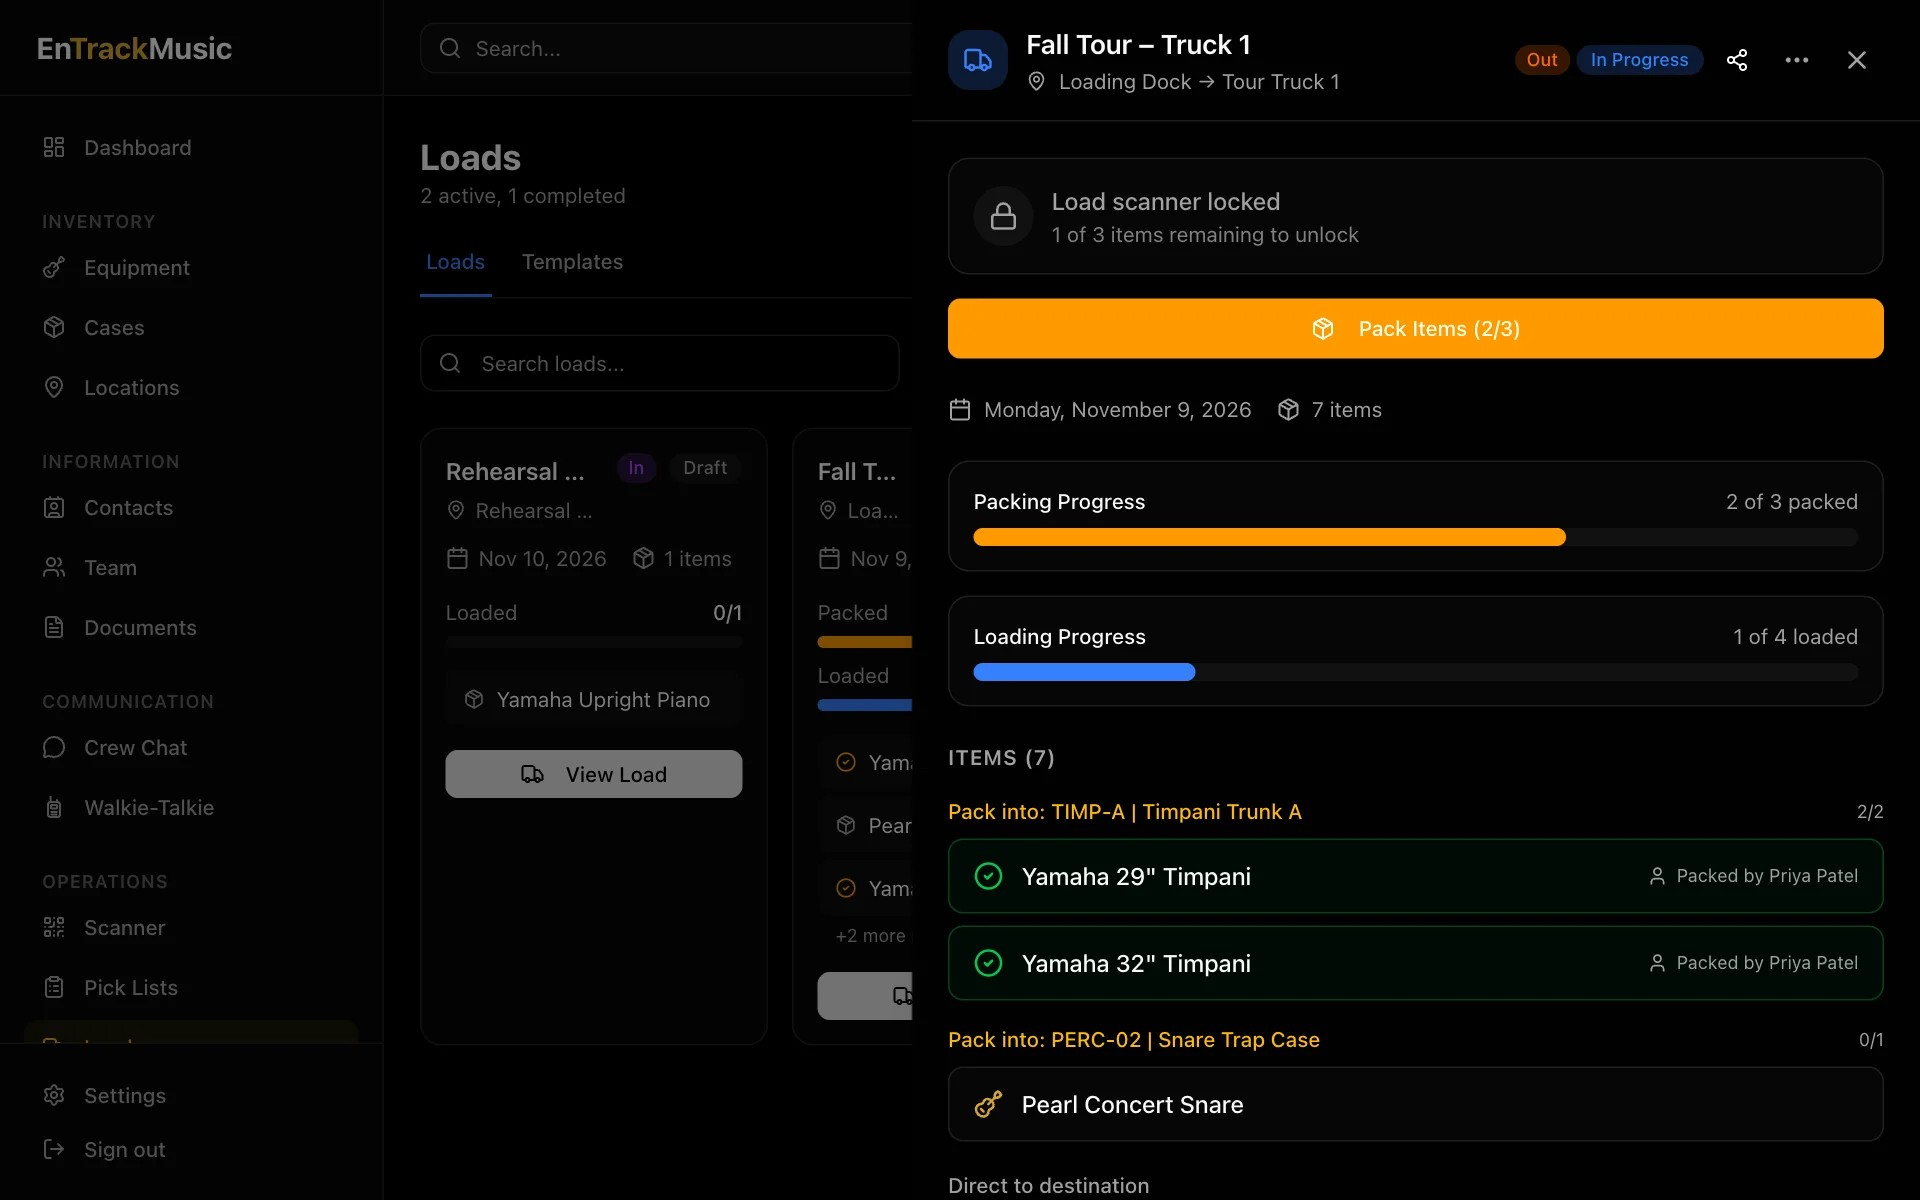
Choose a load to see everything on it. Items that are already loaded are ticked off with the name of whoever scanned them.
Scan it onto the truck
Scanning works best in the iPhone or Android app, but you can also scan in a phone's web browser.
Start scanning
Open the load and choose Start Scanning. The load is now yours: anyone else who opens it sees Currently being scanned by your name until you're done.
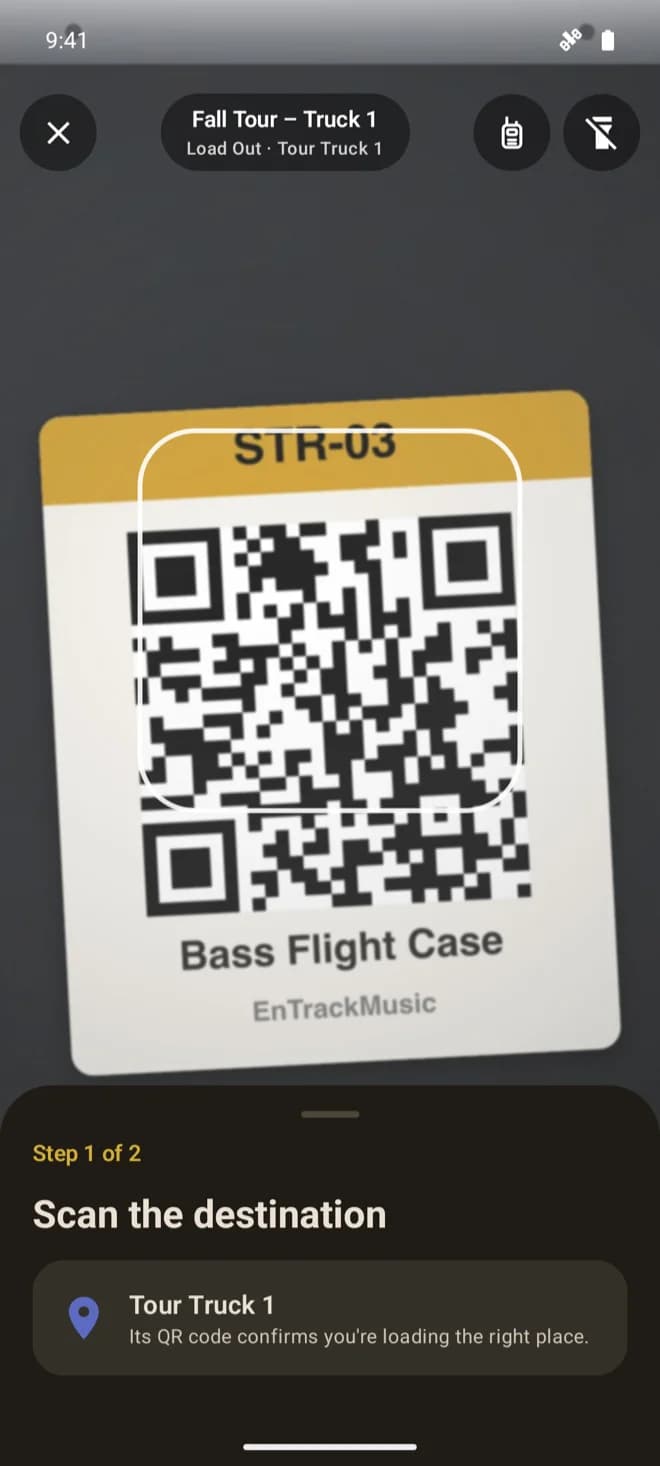
Scan the destination
Scan the QR code on the truck or room the load is going to. This makes sure you're loading the right truck. If you scan the wrong one, you'll see Wrong location and what was expected.
Scan each item as it goes on
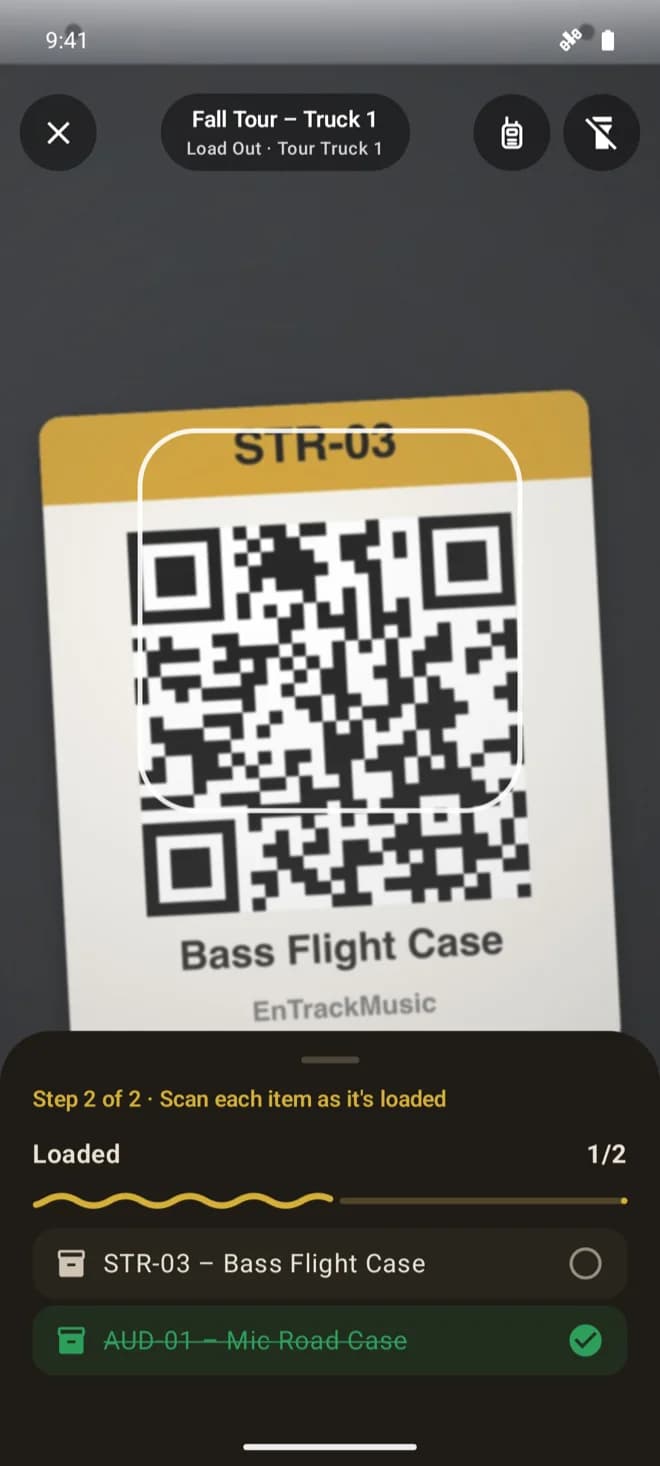
Choose Scan Item QR and scan each case or item as you load it. A green message confirms each one, and the progress bar shows how many are left. Scanning a case also loads everything packed inside it.
If you scan something that isn't on the load, you'll see a red message saying so, and nothing moves.
Finish
When the last item is scanned you'll see Load complete! and the load moves to Completed. Every item on it now shows the destination as its location.
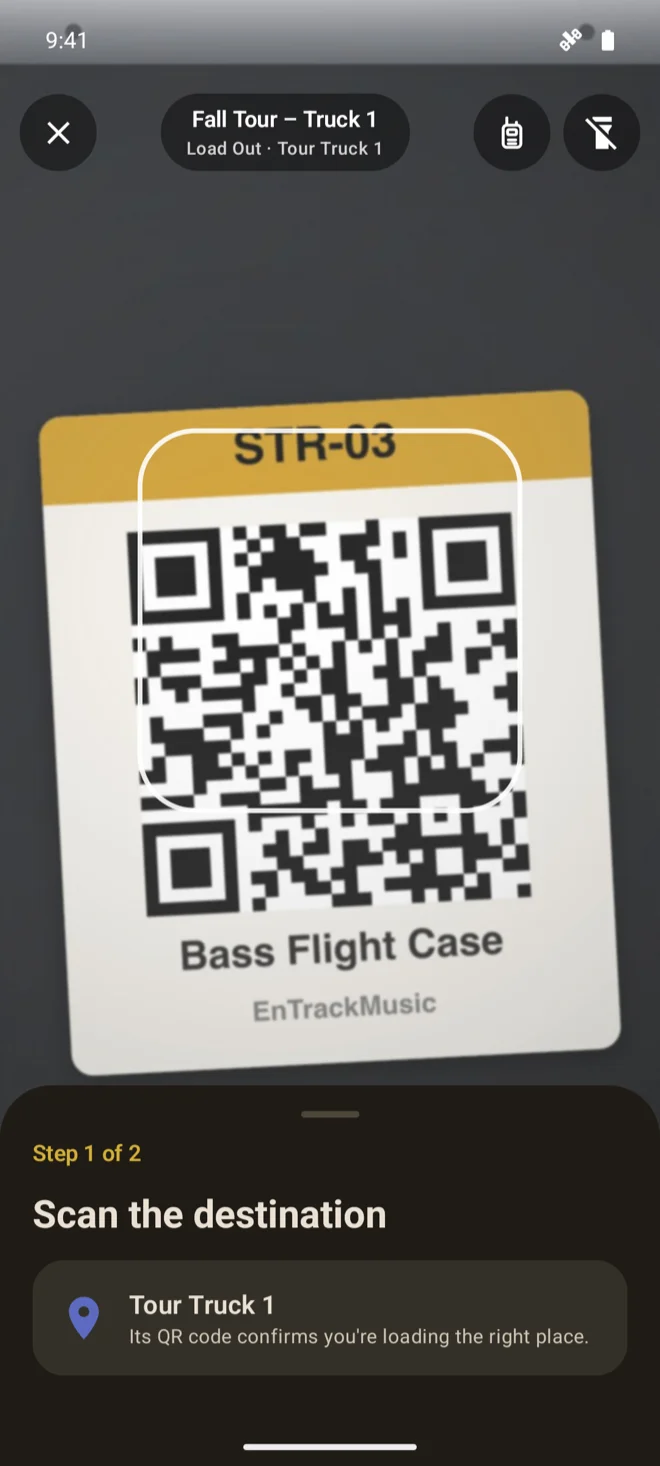
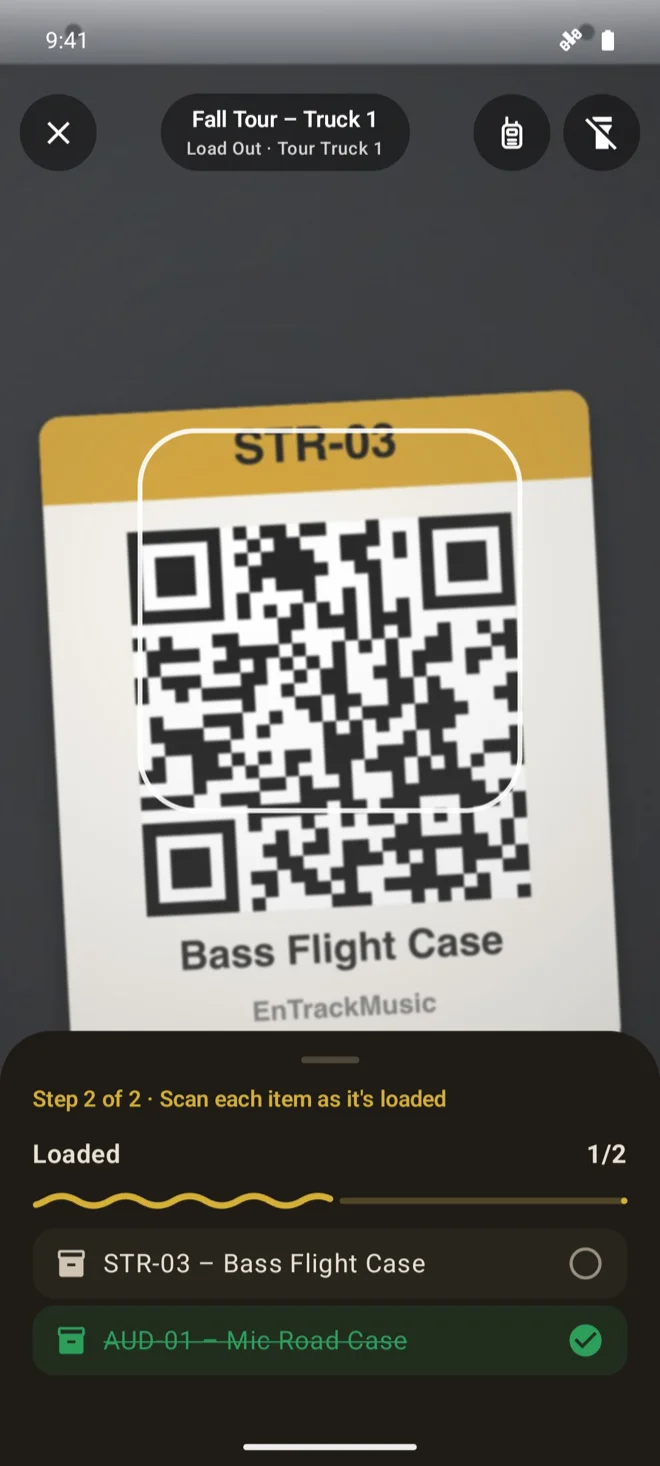
The scanner holds the load while you scan, and each scan keeps it held. After 10 minutes without a scan, a crewmate can take it over. Close the scanner with ✕ when you stop, so a crewmate can pick it up.
Pack items into cases
If a load has packing groups, you'll see Pack Items on it. Packing works like scanning: pick a case, scan it to confirm you've got the right one, then scan each item as it goes in. More than one person can pack at the same time, and you don't need to scan the destination.
Packing must be finished before loading can start. Until it is, the load shows Load scanner locked and how many items still need packing.
Still stuck? Contact us and we'll help.