Getting started with EnTrackMusic
Create your organization, add your first gear and bring your crew in.
EnTrackMusic keeps track of every instrument, case and piece of gear you own: what it is, where it is right now, and who moved it last. This guide gets you from a new account to a team that's scanning gear.
Create your account
Sign up
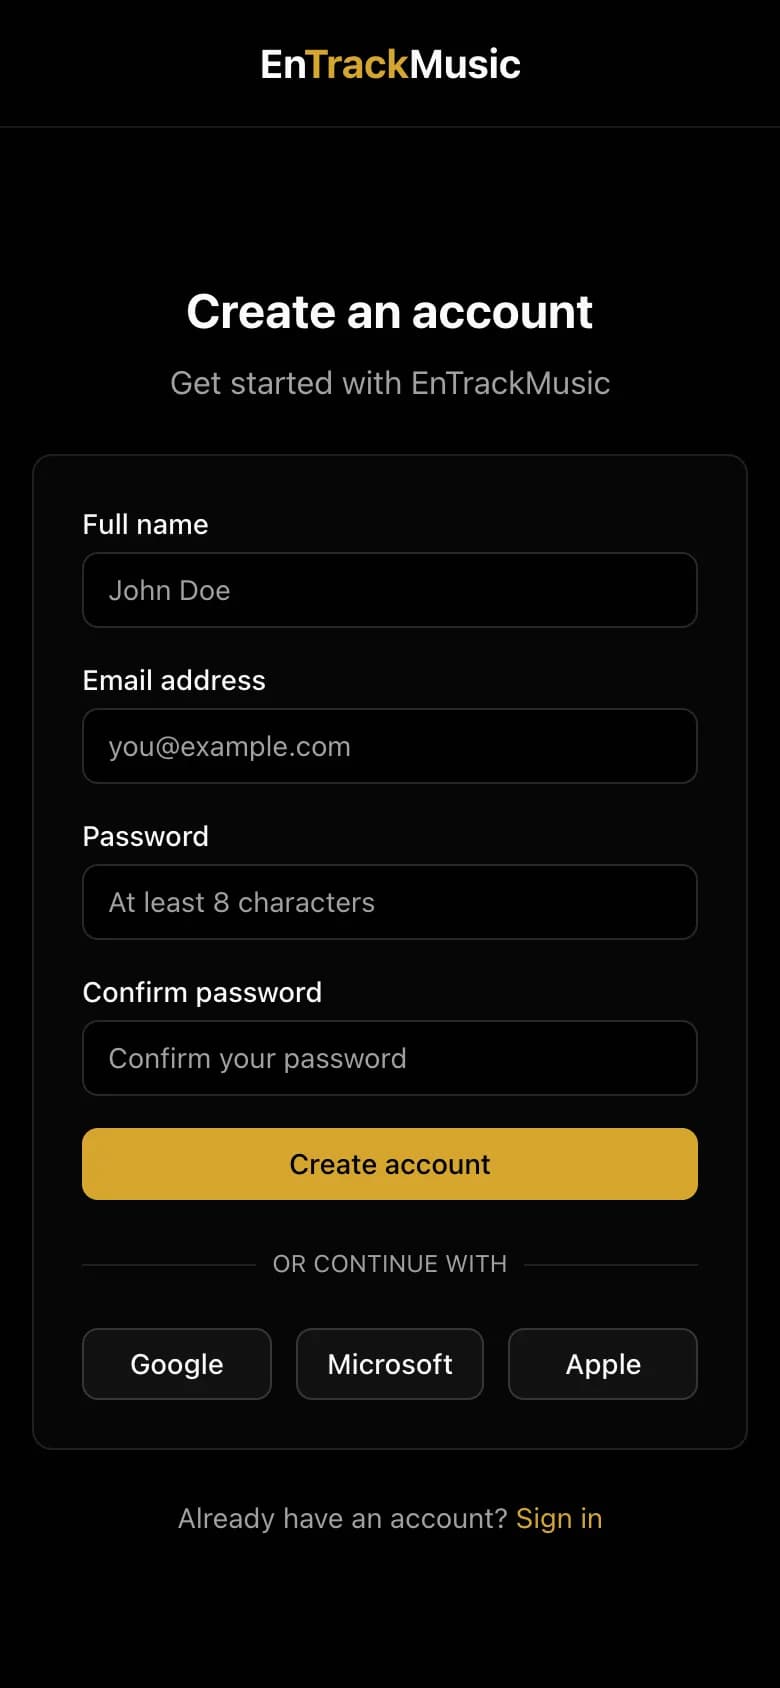
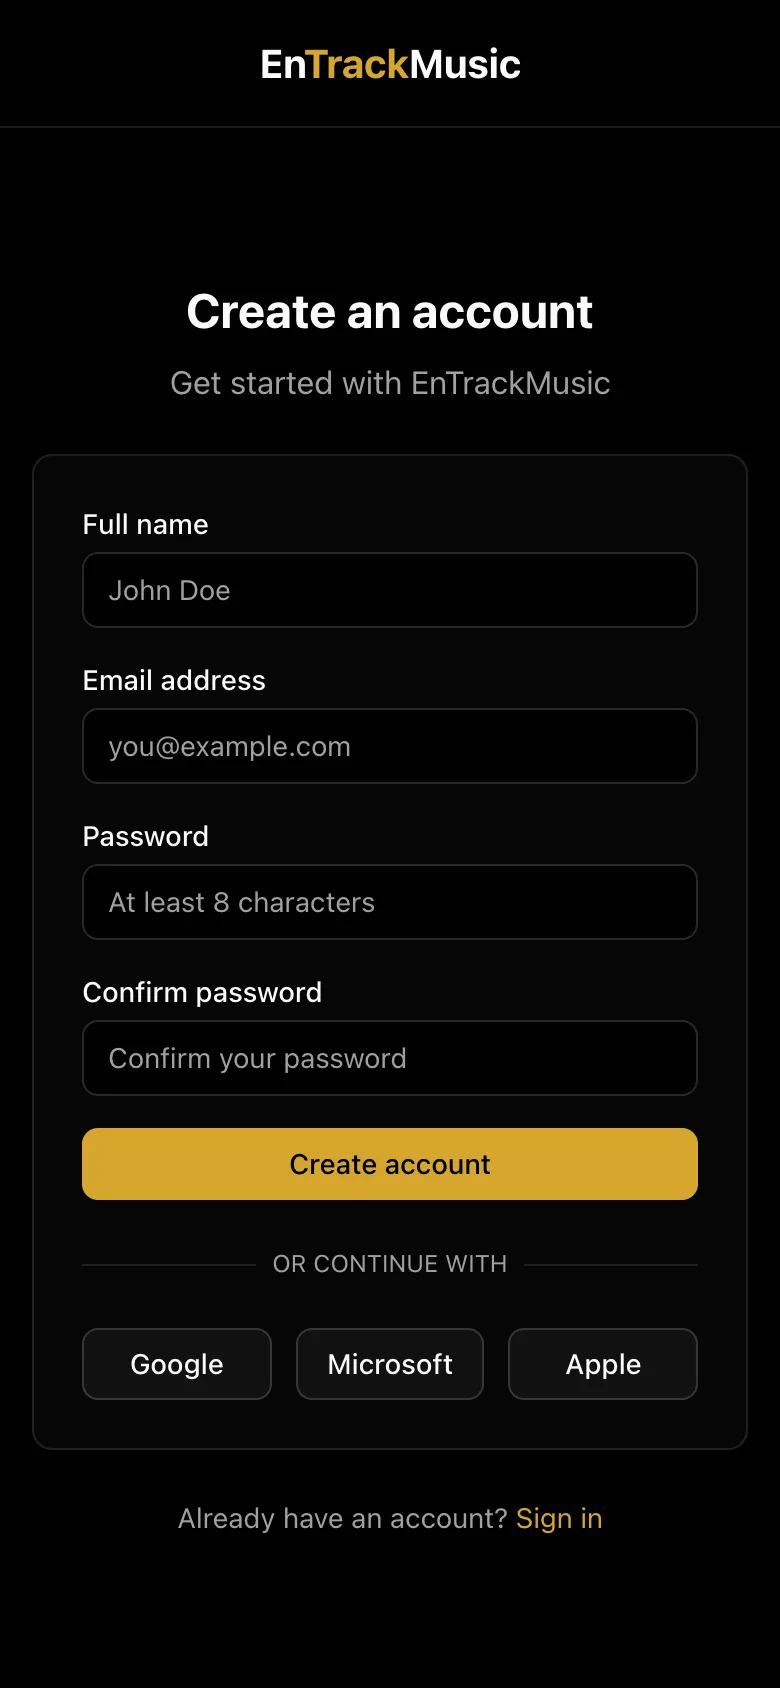
Go to entrackmusic.com and choose Login, then Create one. Enter your name, email and a password of at least 8 characters, or continue with Google, Microsoft or Apple.
Verify your email
If you signed up with an email and password, we'll send you a link titled Verify your email address. Click it, then sign in. The link works for 24 hours. Google, Microsoft and Apple accounts skip this step.
Admins only
Create your organization
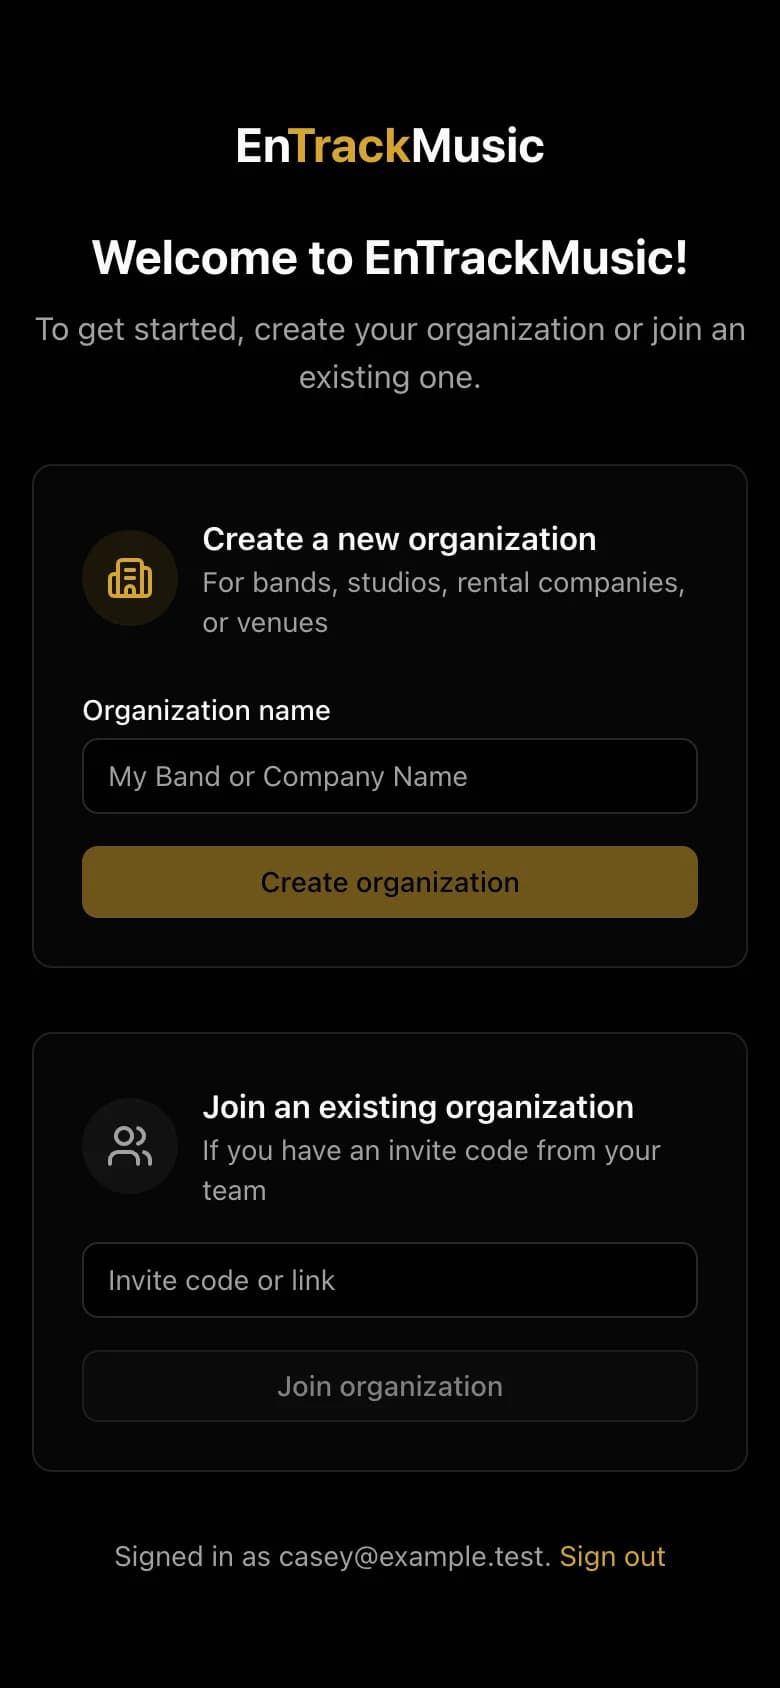
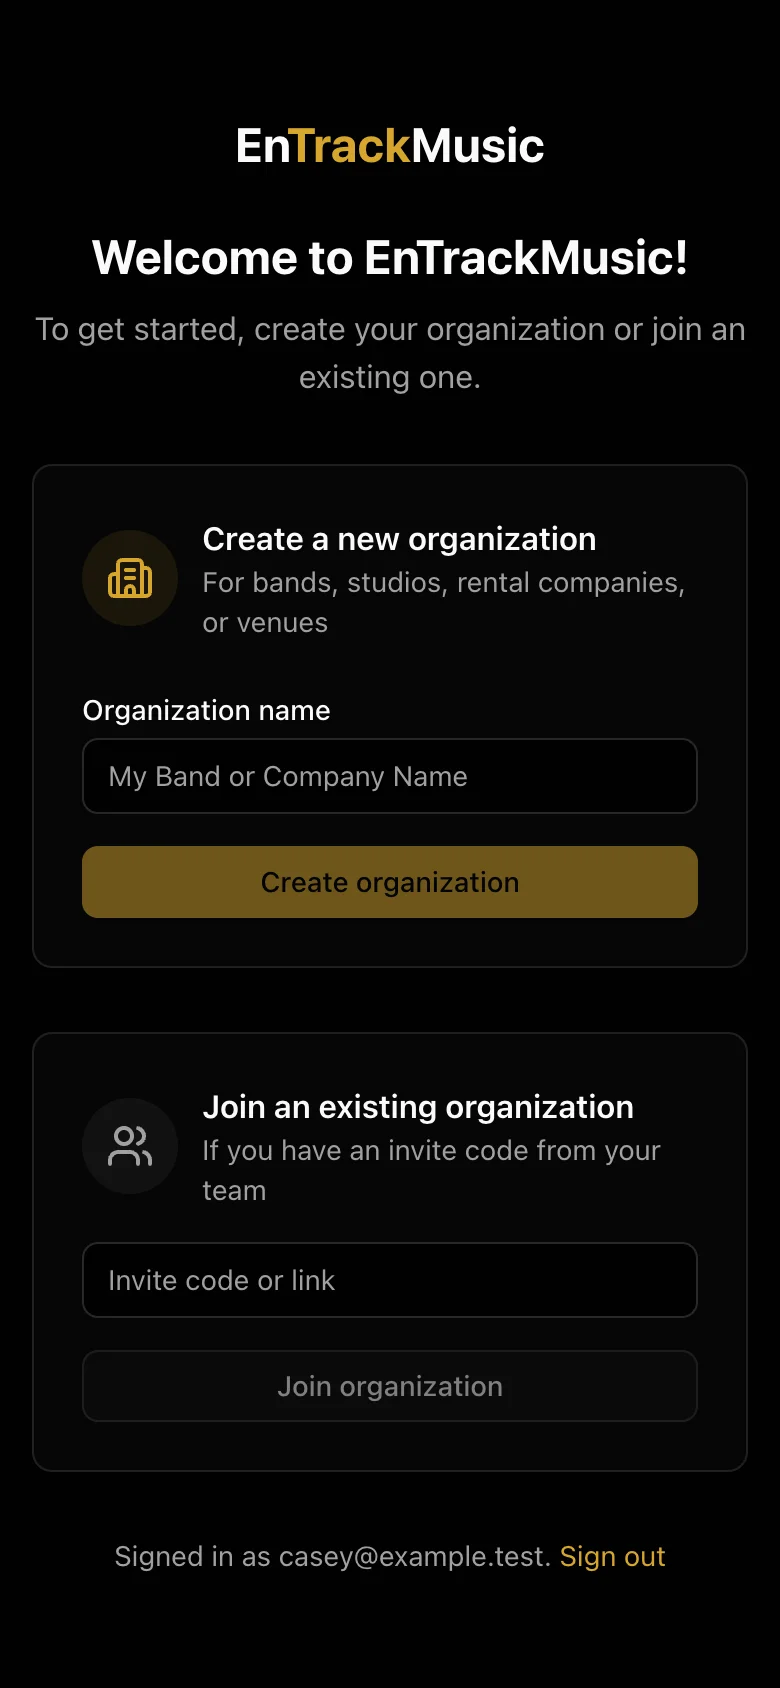
Everything in EnTrackMusic belongs to an organization: your band, orchestra, school, rental company or venue. When you first sign in you'll be asked to create one or join one.
Name your organization
Under Create a new organization, type your organization's name and choose Create organization. You become its first admin.
Choose a plan
New organizations start on the Free plan, which covers up to 25 pieces of equipment and cases and two people. Pick lists and loads need Starter, and ops plans, stage plots and the document library need Pro. See pricing to compare plans.
Find your way around
The Dashboard is your home screen. It counts your equipment, cases, locations and team, lists upcoming pick lists, loads and ops plans, and shows what changed most recently.
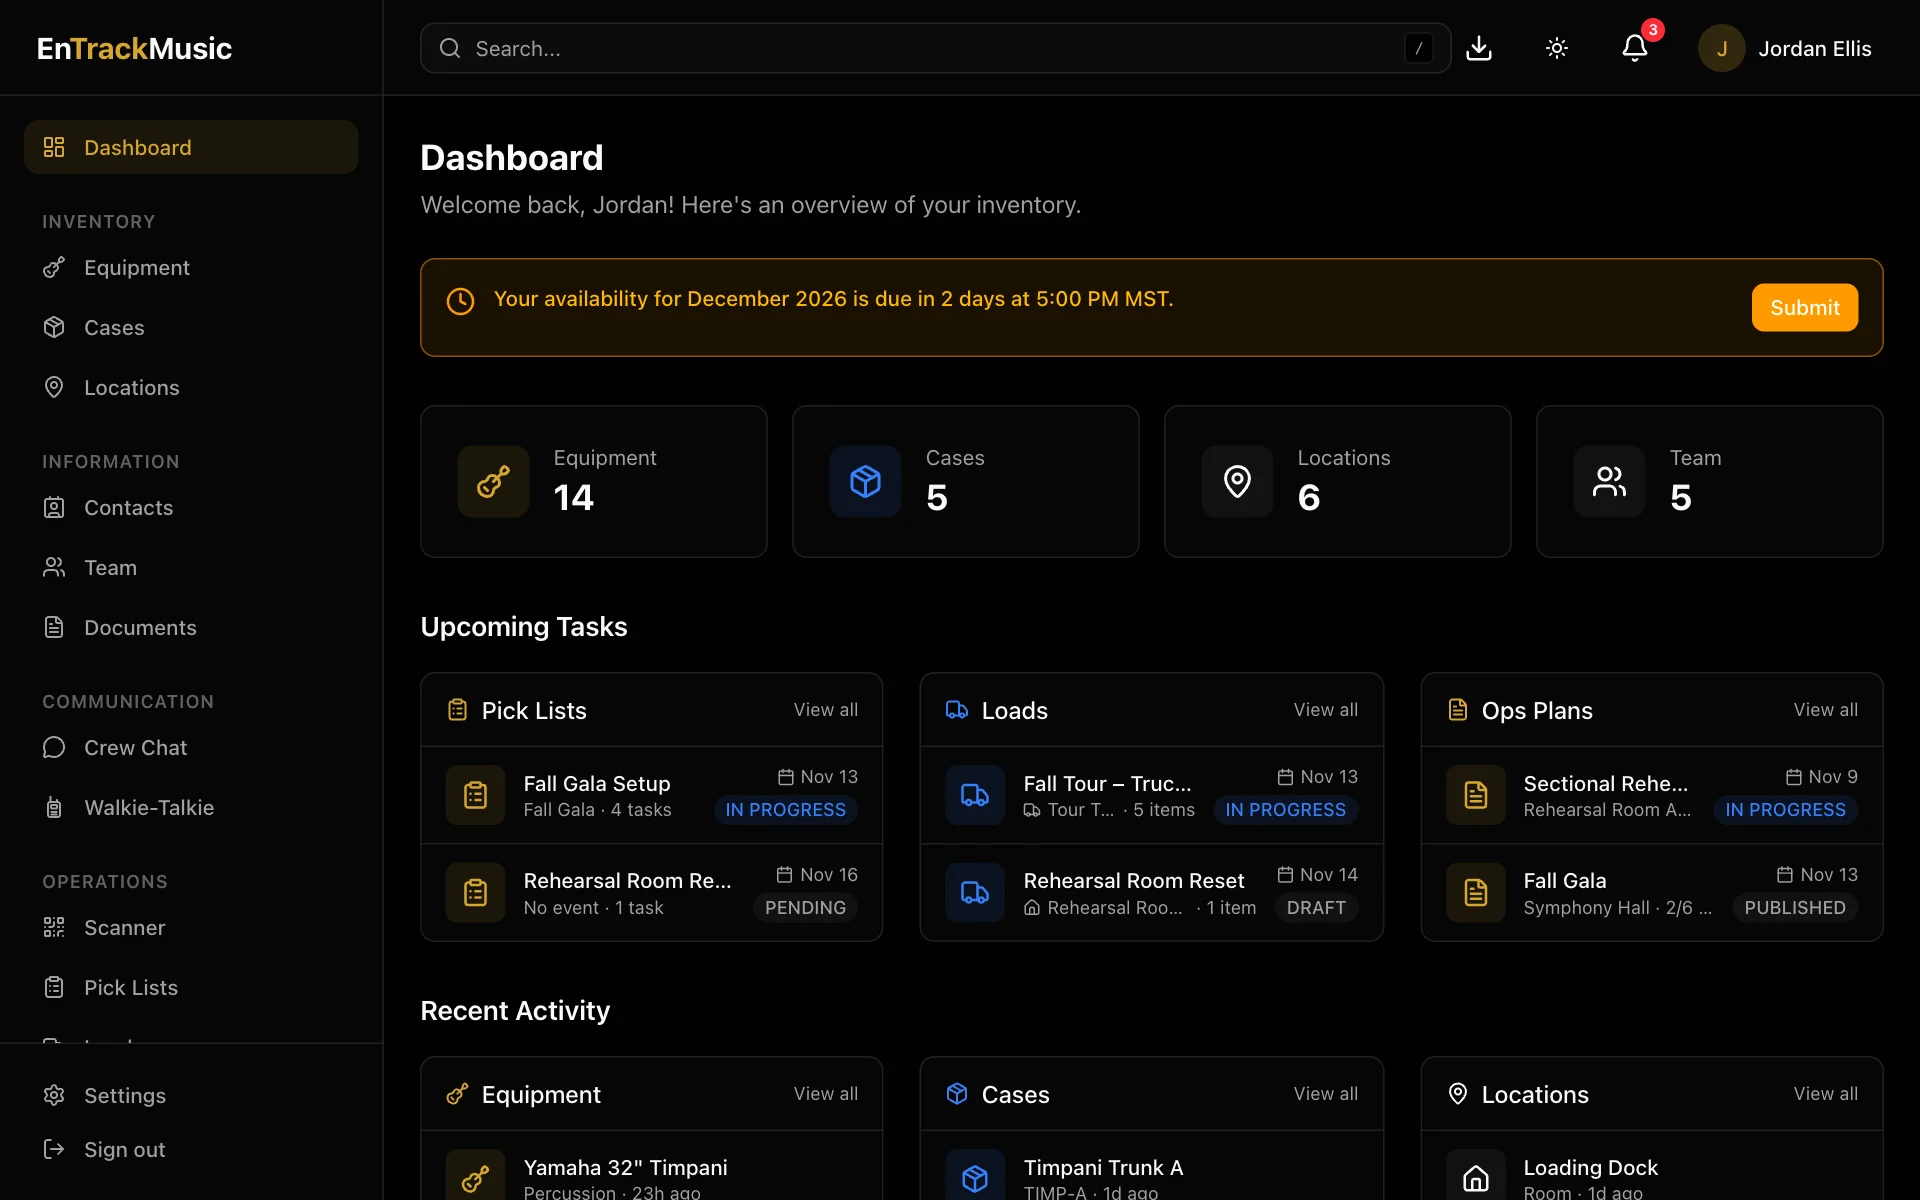
The menu on the left (the ☰ button on a phone) is grouped by what you're doing:
- Inventory: Equipment, Cases and Locations
- Information: Contacts, Team and Documents
- Communication: Crew Chat and Walkie-Talkie
- Operations: Scanner, Pick Lists, Loads, Ops Plans, Stage Plots and Availability
Search sits at the top of every page. Press / to jump to it.
Admins only
Add your gear
Start with where things live, then what they're stored in, then the gear itself.
Add locations
Go to Locations and choose Add Location. A location is a Building (your hall, warehouse or rehearsal space), a Room inside a building, or a Truck.
Add cases
Go to Cases and choose Add Case. Give each case a short code you'll recognise on a label, like
TIMP-AorSTR-01, and say where it is. Cases can sit inside other cases.Add equipment
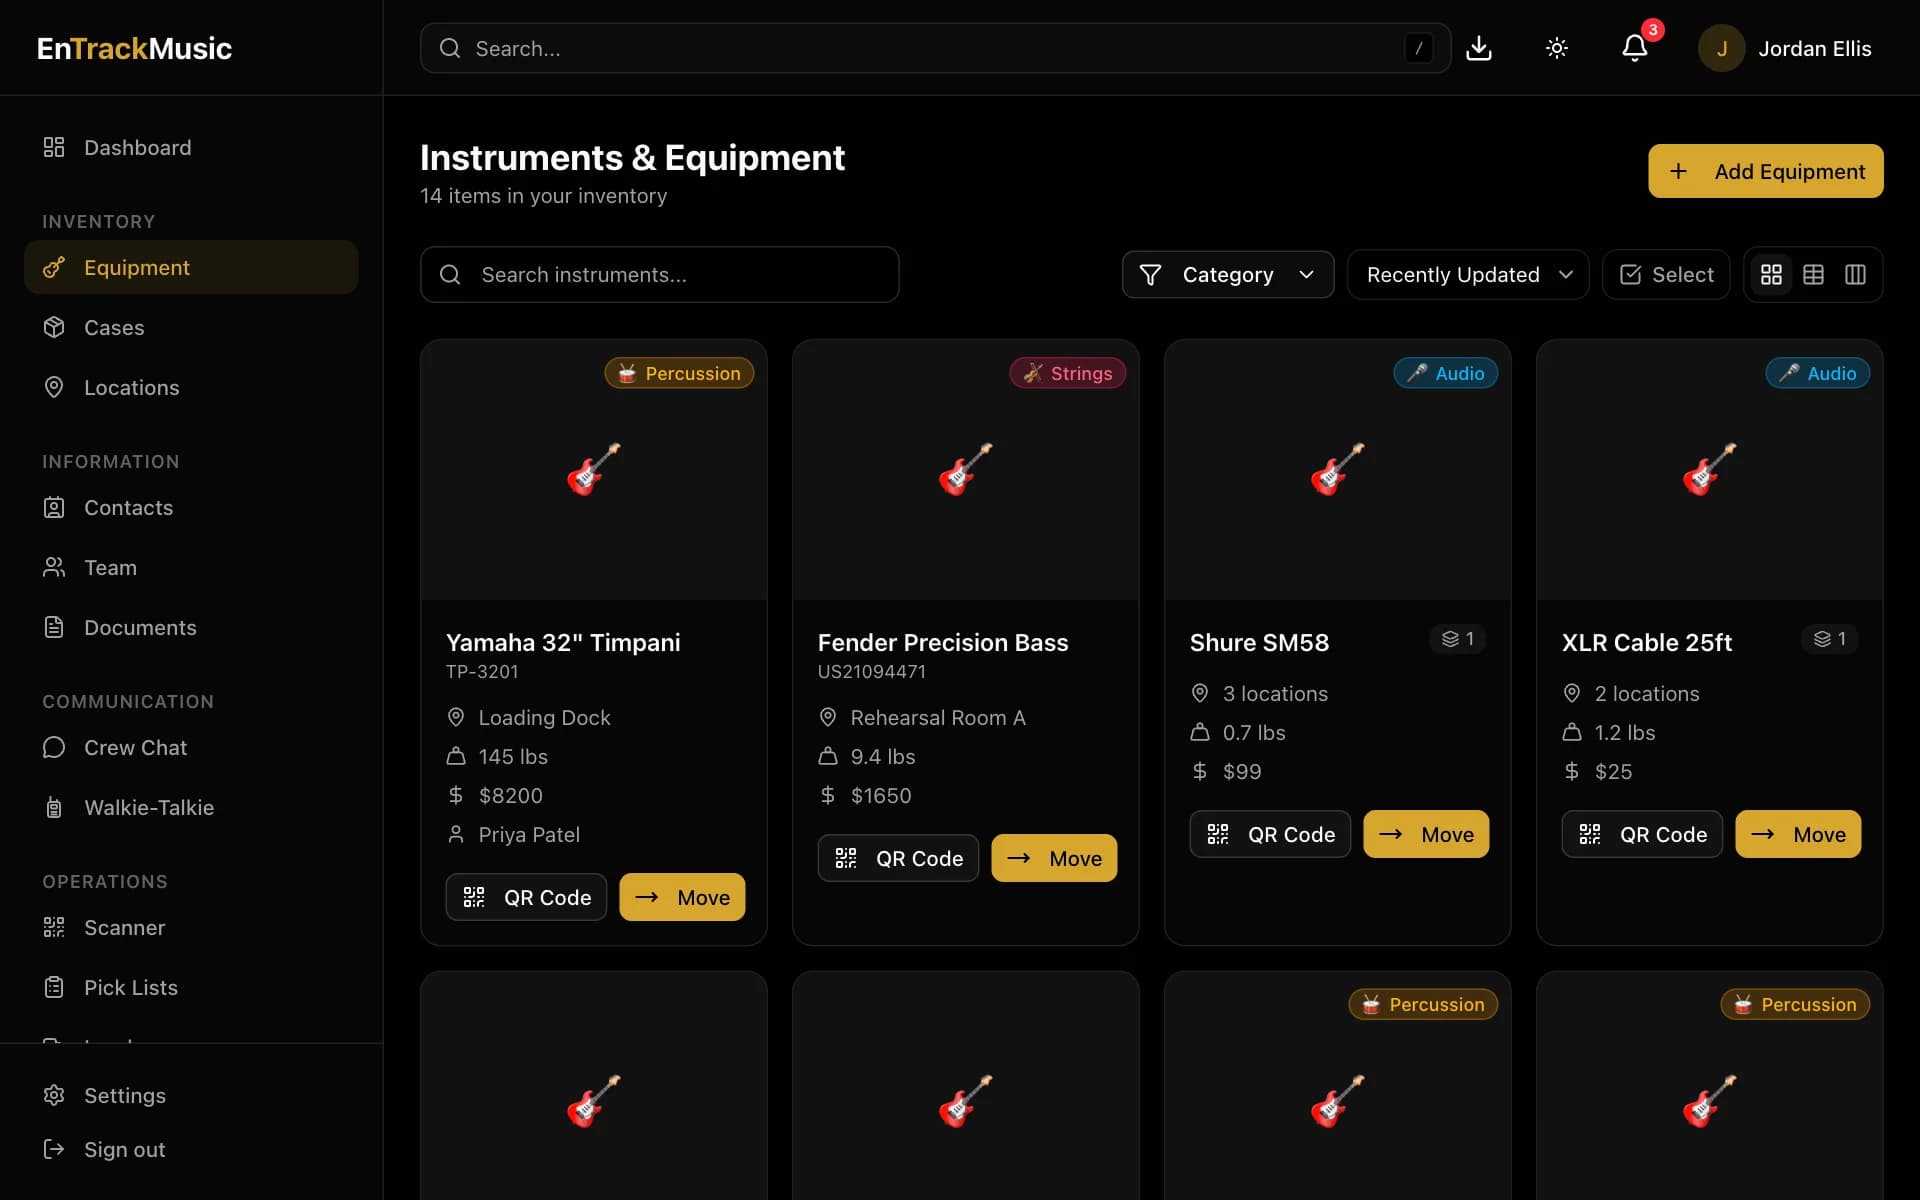
Go to Equipment and choose Add Equipment. Put each item in a case or straight into a location. Serial numbers, weights and values are optional, but they make manifests and insurance lists much more useful.
Print QR labels
Every piece of equipment, case and location has its own QR code. Select items on any list and choose Labels to print them on Avery label sheets, then stick them on. Now anyone on your team can scan an item to see what it is or to move it. See QR codes and labels.
Invite your team
Open the Team page
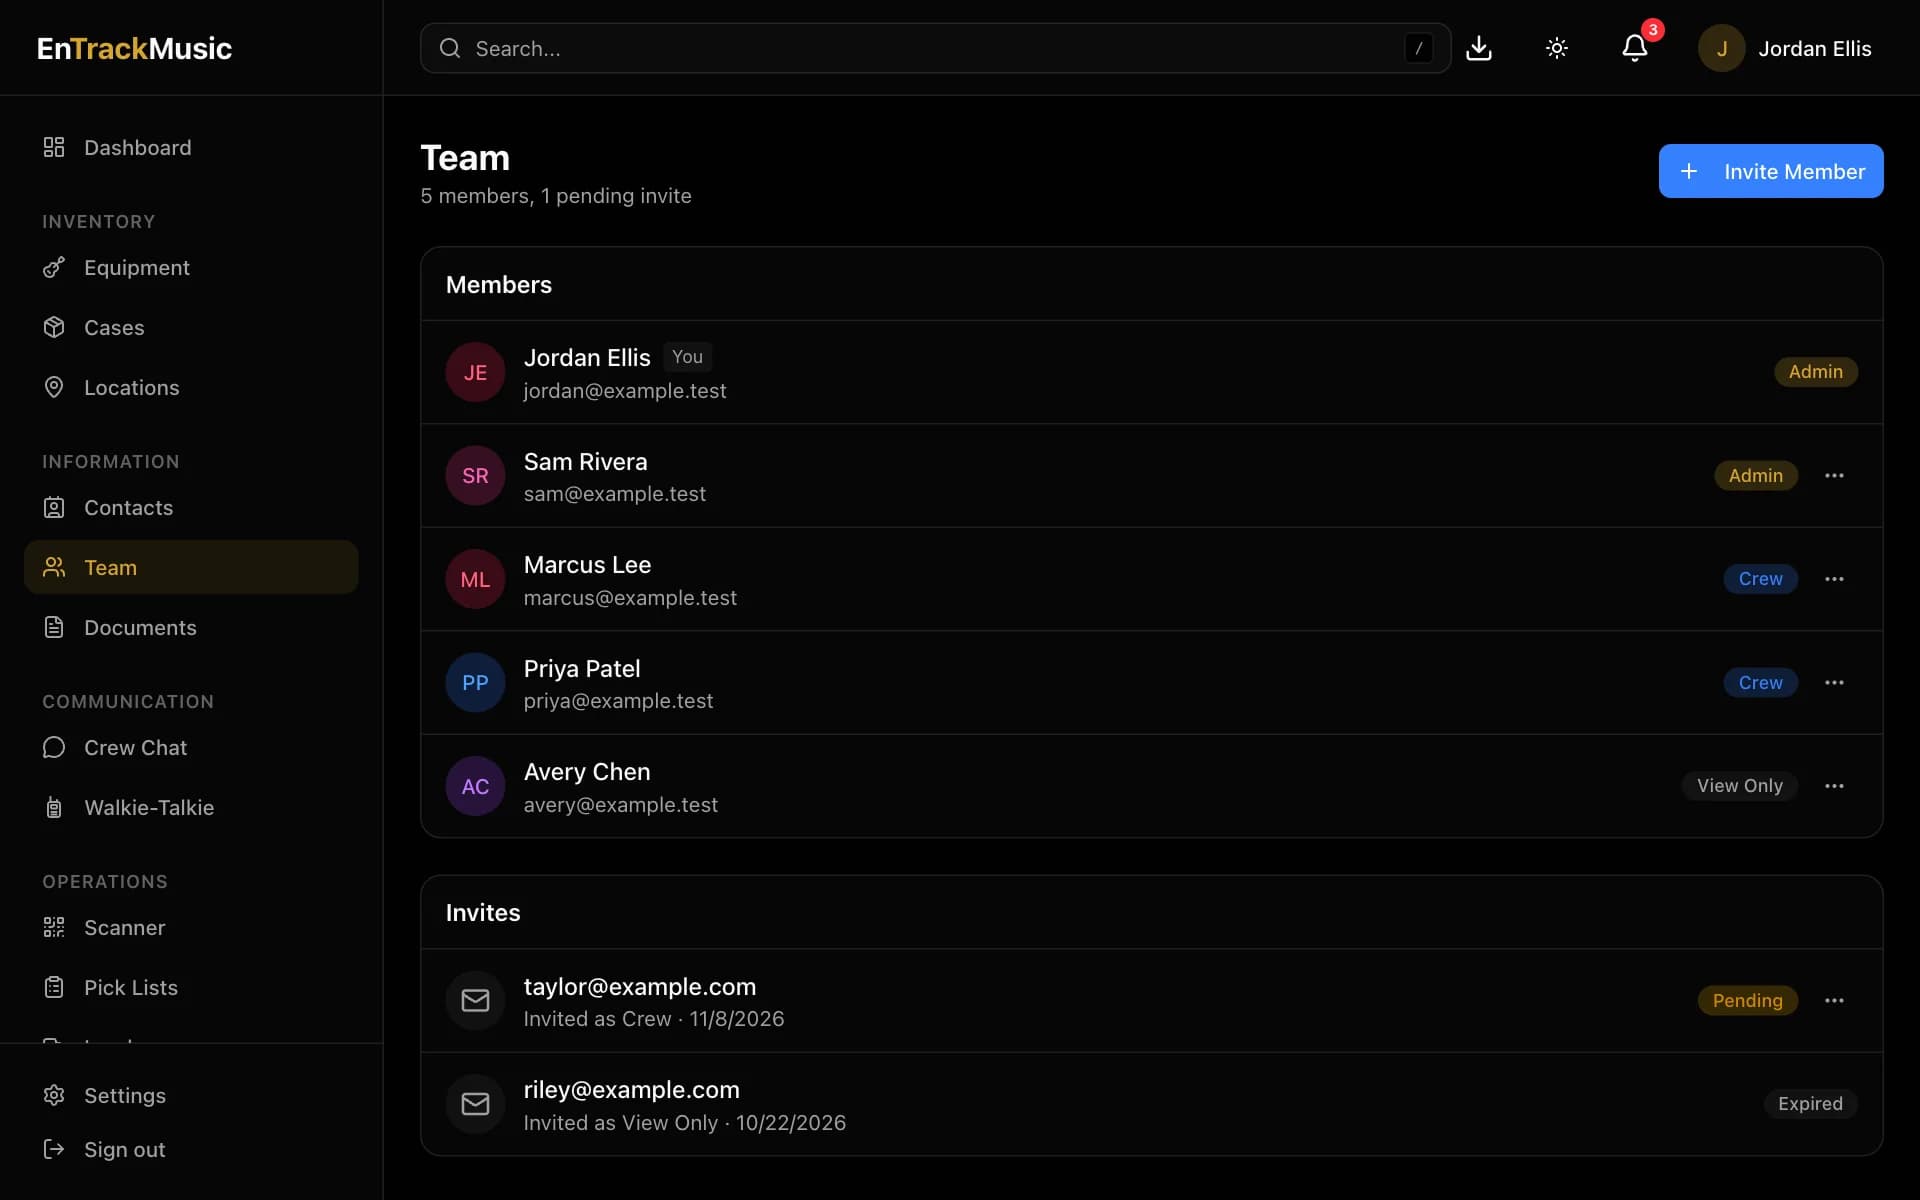
Go to Team. You'll see everyone in your organization and any invites still waiting to be accepted.
Send an invite
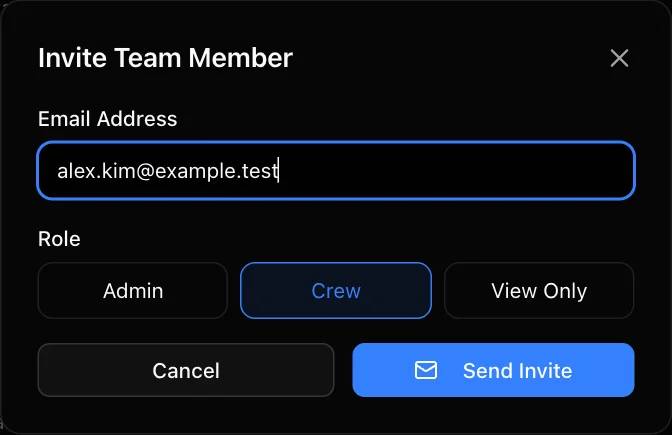
Choose Invite Member, enter their email address, pick a role and choose Send Invite. They'll get an email with a link to join. You can also copy the link and send it yourself.
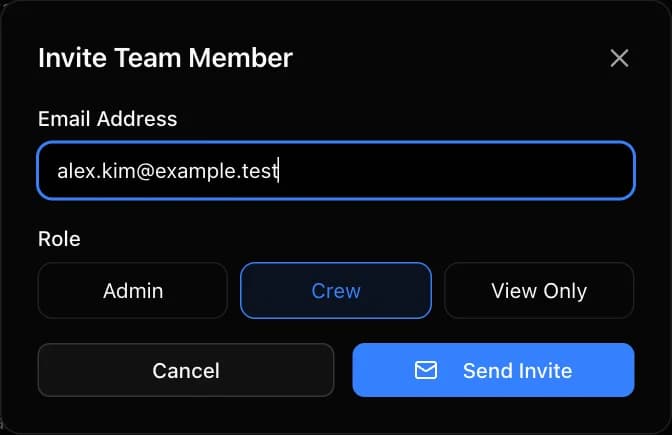
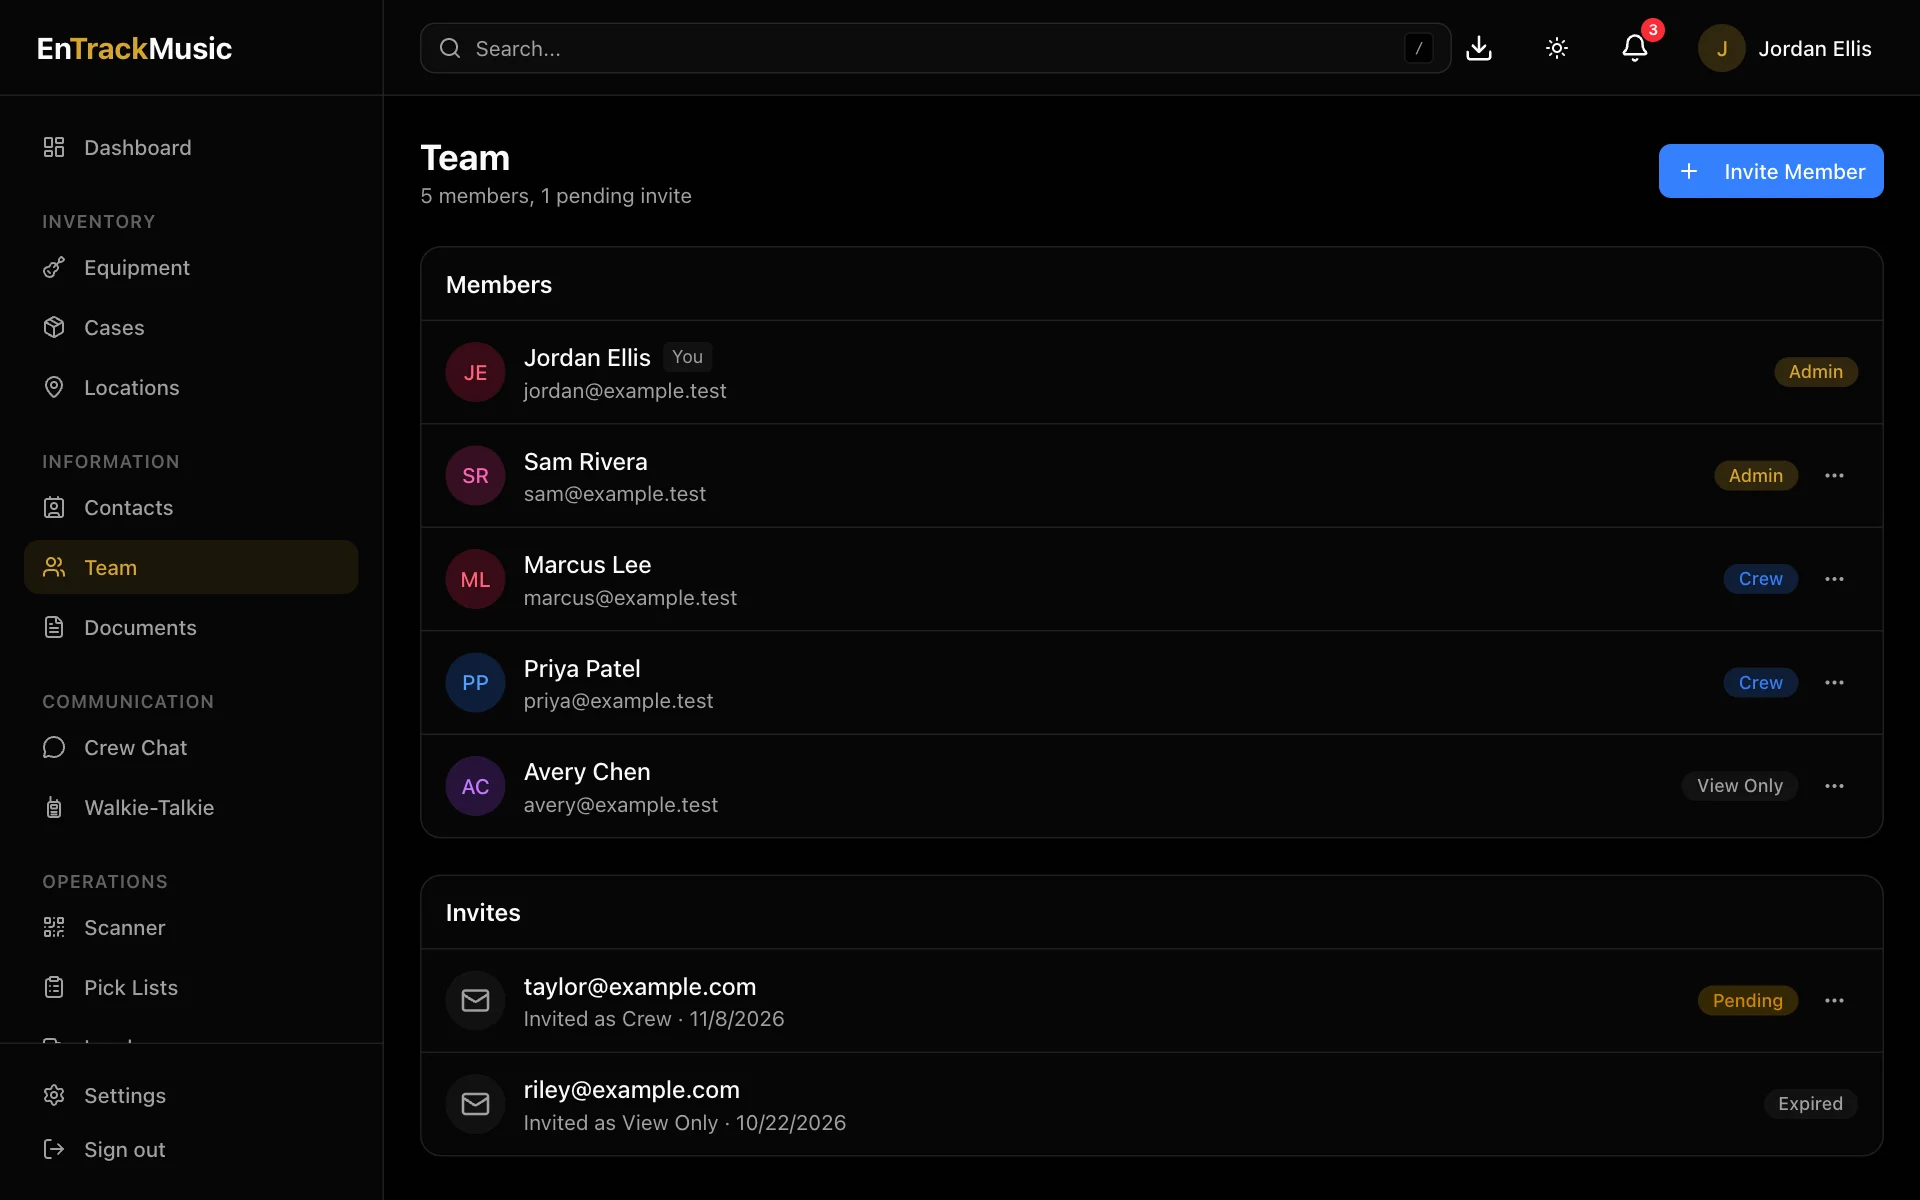
Invites last 7 days. Choose ⋯ next to a pending invite to resend it (which gives them another 7 days), copy its link or revoke it. To change someone's role later, choose ⋯ next to their name.
Which role to choose
| Role | What they can do |
|---|---|
| Admin | Everything: add and edit gear, cases and locations, create pick lists and loads, and manage the team, plan and billing. |
| Crew | Move gear, work through pick lists, and scan and pack loads. They can't edit item details or settings. |
| View Only | See everything, change nothing. Good for musicians, librarians and anyone who just needs to look something up. |
Your plan sets how many people and admins you can have. If you hit a limit, the invite will tell you.
Joining your team
When an admin invites you, you'll get an email from EnTrackMusic. Open the link in it and you'll see which organization invited you and the role you'll have.
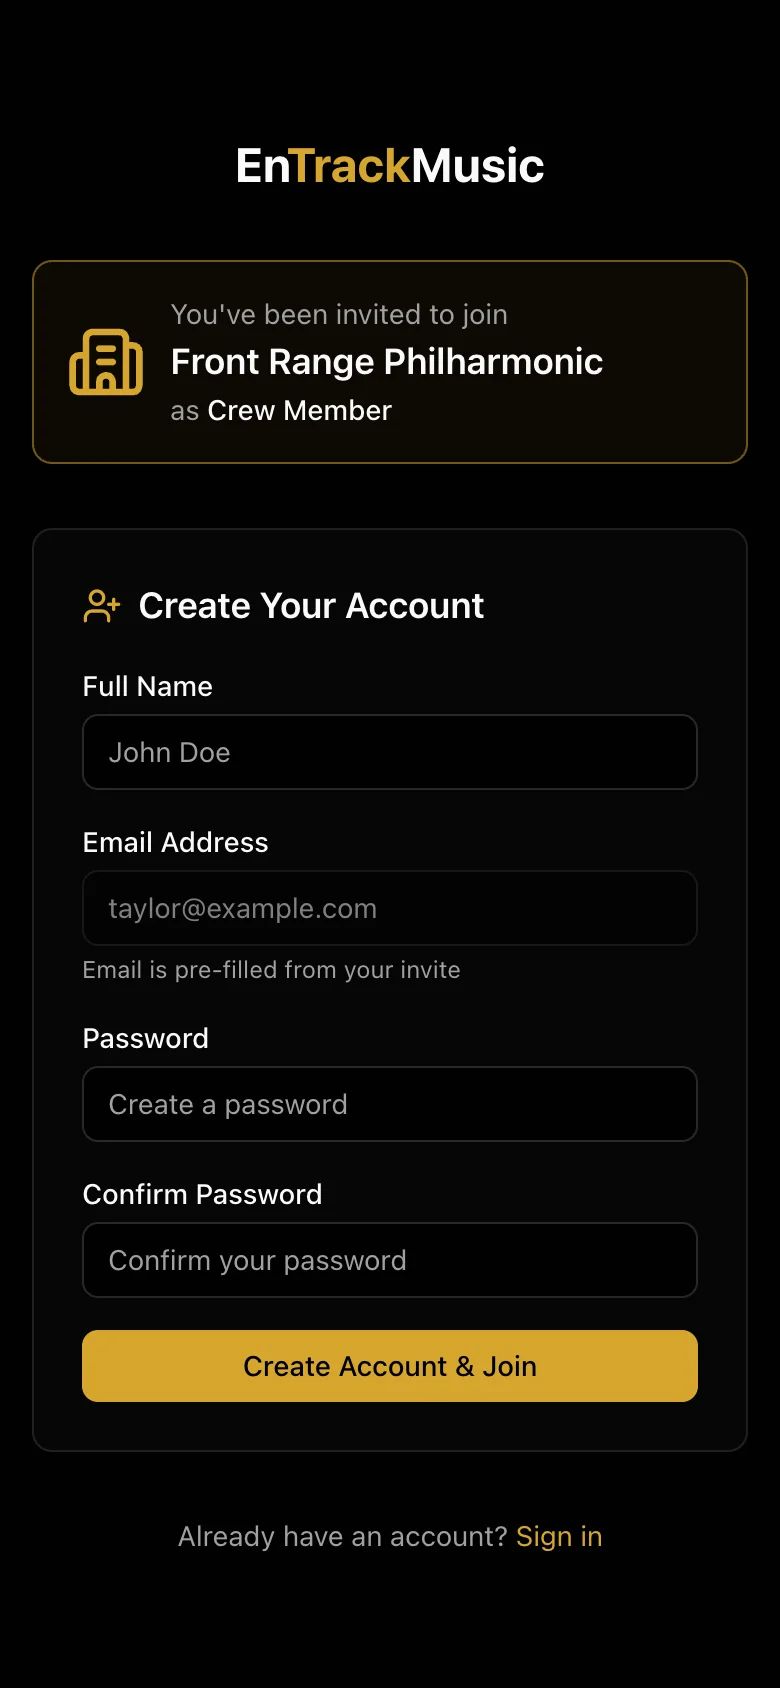
Enter your name and a password and choose Create Account & Join. You'll be signed straight in. Your email is filled in from the invite, so use the address the invite was sent to.
Already have an EnTrackMusic account? Sign in first, then open the invite link and choose Accept Invitation.
An account can belong to one organization at a time. If an invite says the email is already registered, ask your admin to invite a different address.
Get the apps
EnTrackMusic runs in any web browser, and there are apps for iPhone, iPad, Mac (Apple silicon) and Android. The apps are best for scanning: they open the camera faster and have a flashlight button for dark trucks and loading docks. Sign in with the same account you use on the web.
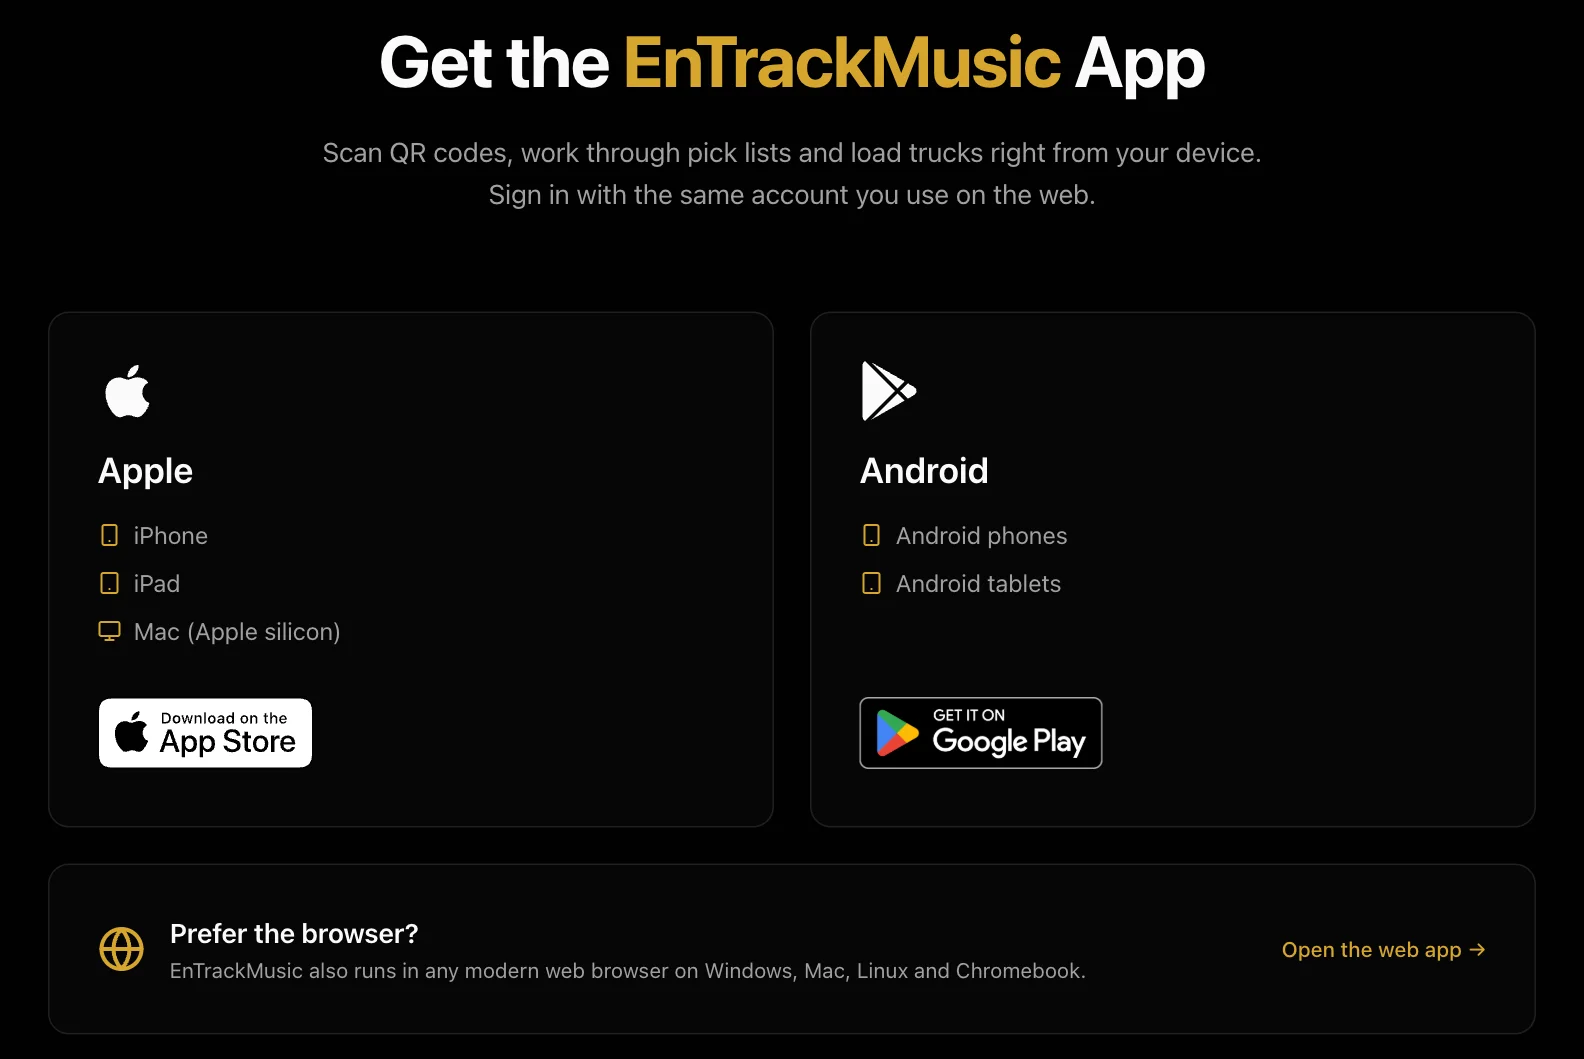
Get them from the download page.
Still stuck? Contact us and we'll help.